Below will essentially be a catch-all for the information you need to know about the HackFab Losi Mini-T Oval Conversion Chassis.
The History:
Our chassis conversion allows you to take the new Losi Mini-T 2.0 and turn it into essentially a modern “Mini Late Model”. Those that recall in 2011’ish the original Losi Mini Late Model was based off of the original Mini-T and was a dedicated oval car with a longer wheelbase. It shipped with a Late Model body but had all sorts of aftermarket support for bodies including the Kipps Hobbies Eastern Dirt Modified and McAllister also had a slew of options including Street Stocks, Midwest Modified, NASCAR, NASTRUCK, 50’s Chevy, Oldie Style Sedan, other Late Models.. Our local track ended up having 5 classes based on this chassis with various body and electronic rules. It was some of the most fun racing I’ve experienced in my 20+ years of r/c.
The Basics:
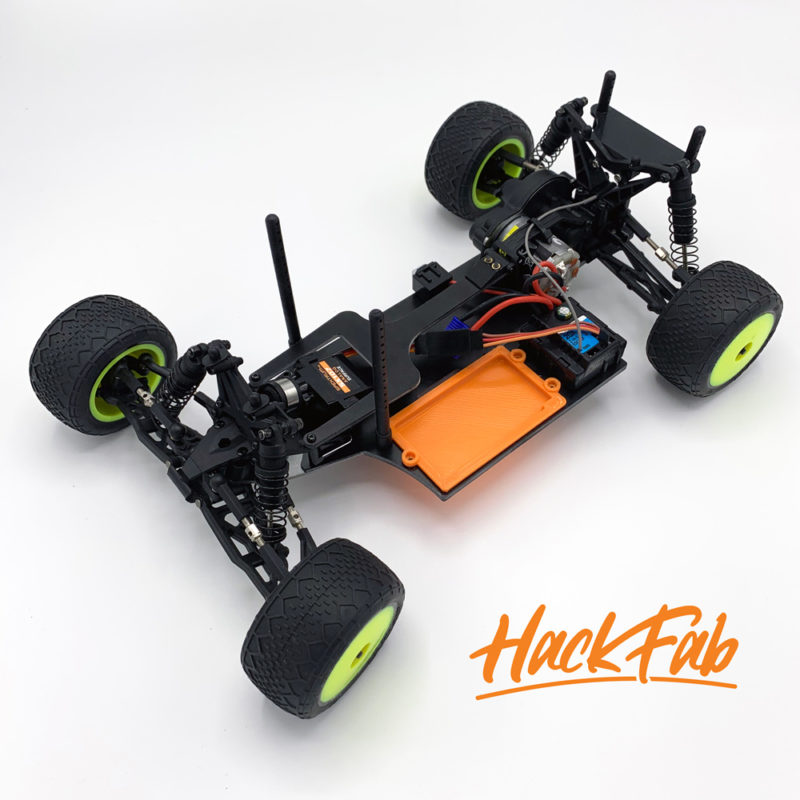
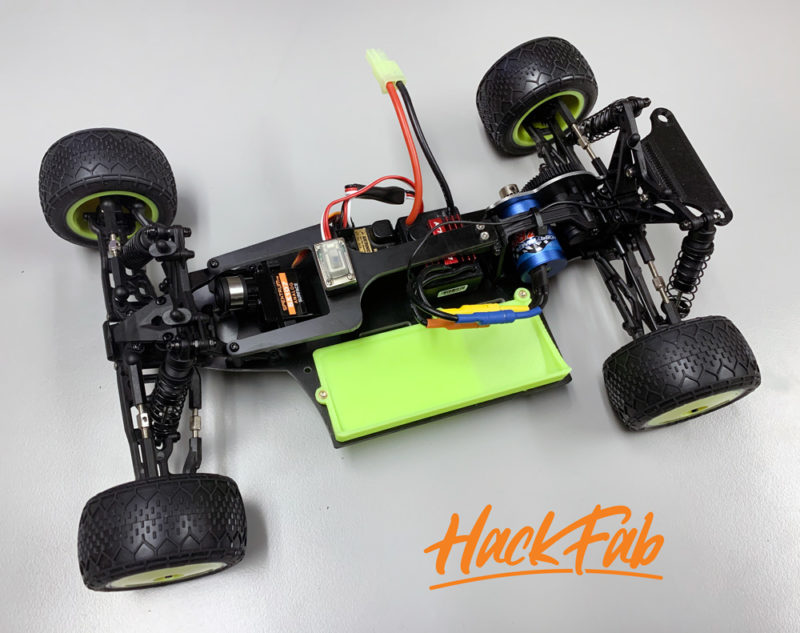
So, you’ve found the HackFab conversion, and are wondering what you need to do to convert your car? We’ve made it pretty easy with a semi-complete kit that is available for purchase. Our conversion does two main things:
1. It lengthens the wheelbase of the Mini-T 2.0 to that of the old Mini Late Model (a stretch of close to 2″)
2. It provides a wider, left offset chassis that makes for better oval handling as well as provides more room for electronic mounting
Now, being the Mini-T 2.0 ships with an aluminum chassis, it was a bit tricky to come up with our design as it required compensating for the kickup for the front suspension. After a number of tests it was decided the easiest way to incorporate this kickup was to just utilize the stock chassis. This would require the end user to cut their stock chassis in order to do this (we provide a cutting guide decal). If you’re like me and building one of these cars for racing, you’ll never need the original chassis anyways and it will keep cost down for the kit. That said, we did decide to also offer a precut kickup for those who do not want to try cutting their own.
Intro Video:
https://youtu.be/rH7mB5k3MC0
What’s included in the kit:
G10 Lower Chassis Plate
G10 Upper Chassis Brace
2x Battery Tray Inserts & screws (one fits the stock battery, the other is for aftermarket options)
Upper Brace Bracket with screws
(4) 2″ body posts with 2 screws
Extended Rear Body Mount w/ 5mm through-hole for easy adjustability
Front Bumper Mount with screws
Decal to use as cutting guide for stock chassis
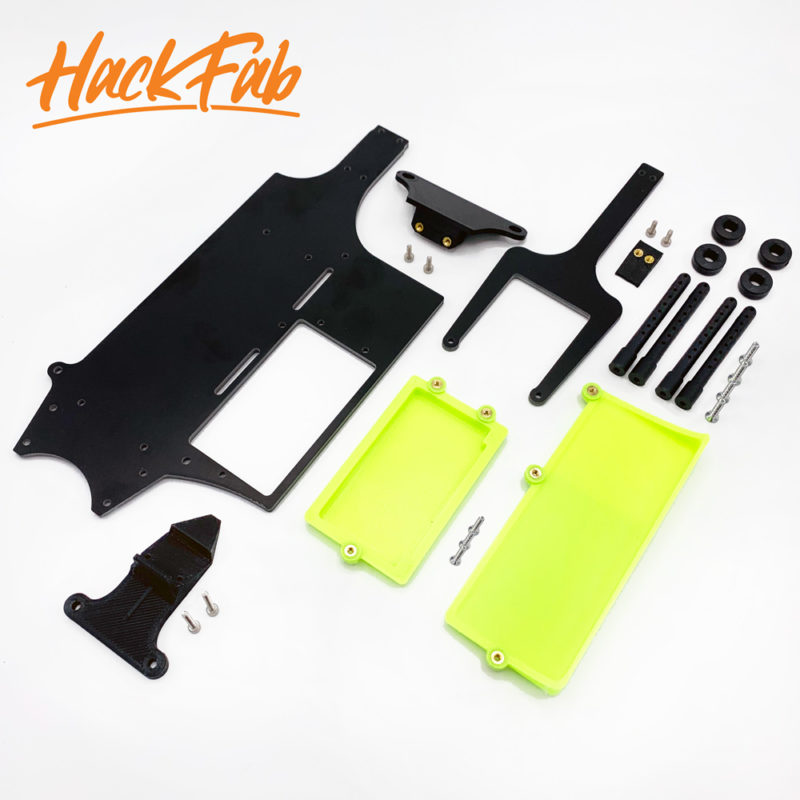
There are two battery trays included. The short one is for the stock 650mah Lipo included with the Mini-T 2.0. It has notches in it to fit its shape, and allows the battery to sit down in the chassis for a lower center of gravity. The other is a larger universal tray which fills the pocket in the chassis and also provides a wall to protect the LiPo. This is intended for “most” medium capacity Lipos such as the Turnigy Nano-tech 1500mah 35-70C 2s and a slew of others. Not knowing what people will want to run and what classes may develop, allowing for fitment of a larger capacity battery to pair with optional brushless optioned seemed like a logical choice. Since most of these higher capacity lipo’s are soft case, the 10mm wall should help protect the battery as well. Both battery tray options require securing the battery with strapping tape as typical in pan car racing. NOTE: Battery Trays will be offered in the “Highlighter Yellow” color only. Custom colors may be available upon request.
Instructions:
https://youtu.be/YxC7IAv4Vyg
Cutting the Kickup:
As previously mentioned, this conversion requires “making” a kickup from the stock aluminum chassis. We provide a vinyl decal that you peel and stick to the chassis to then get a rough guide of where to cut. It is a fairly simple process and only really requires a vise (or firm grip on a flat table edge), a hacksaw (preferably with a newer blade), and a little patience. You could also use a Dremel with cutoff wheel, band saw, etc.. Again, if you’re not inclined to do this – WE DO OFFER TO INCLUDE ONE for an additional $15 (which is less than a stock chassis replacement which is around $20).
Simply install the decal
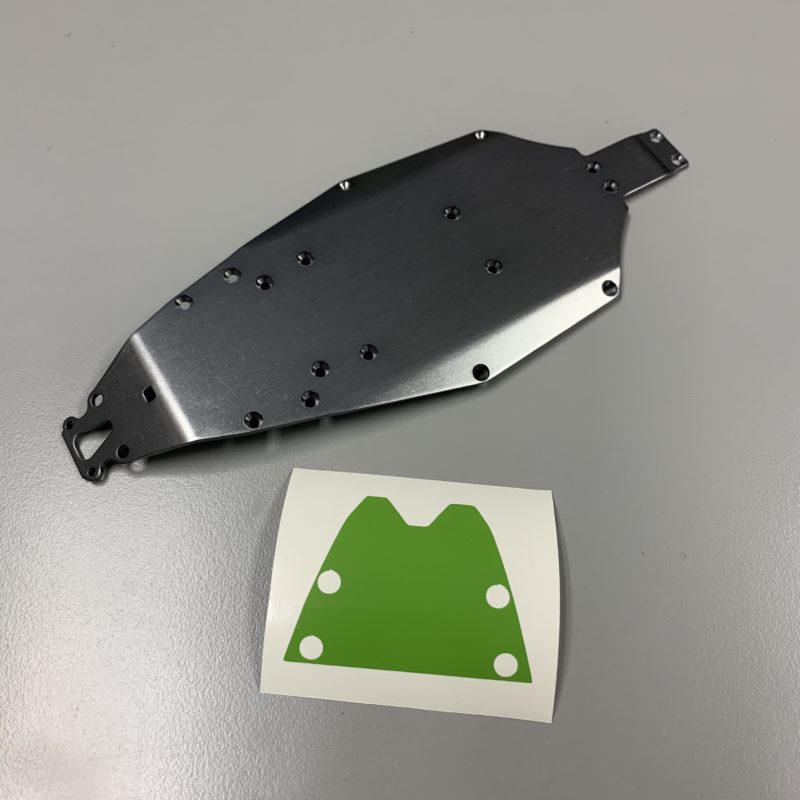
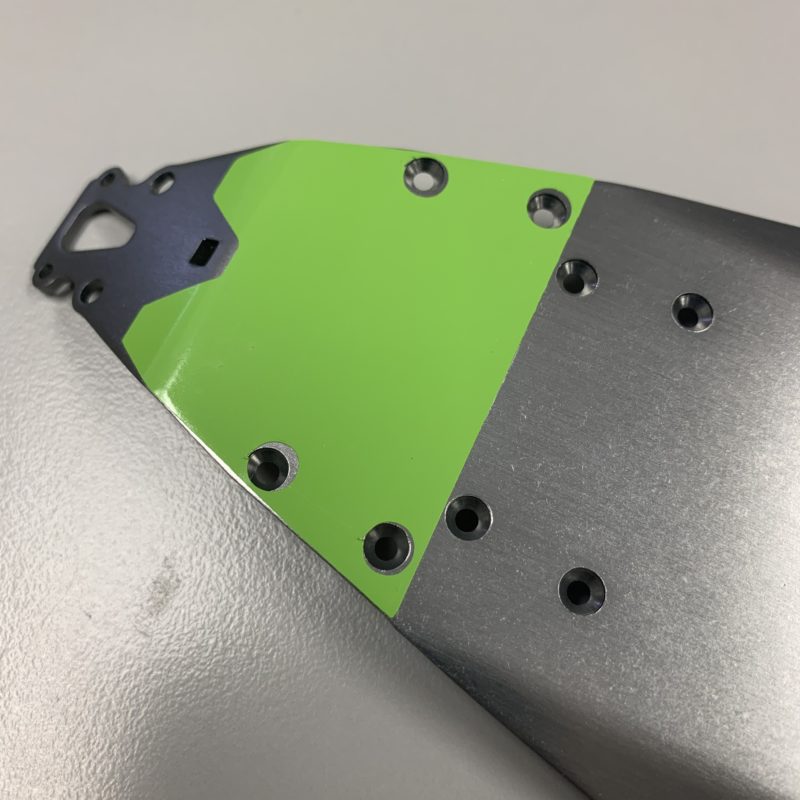
Fitment of the decal may vary from chassis to chassis depending on the countersink, but this is essentially what you’re aiming for – a straight line just above the servo mounting holes. The holes in the kickup will align to the holes in the chassis, so it should not impact the build if your cut is not laser straight or exact.
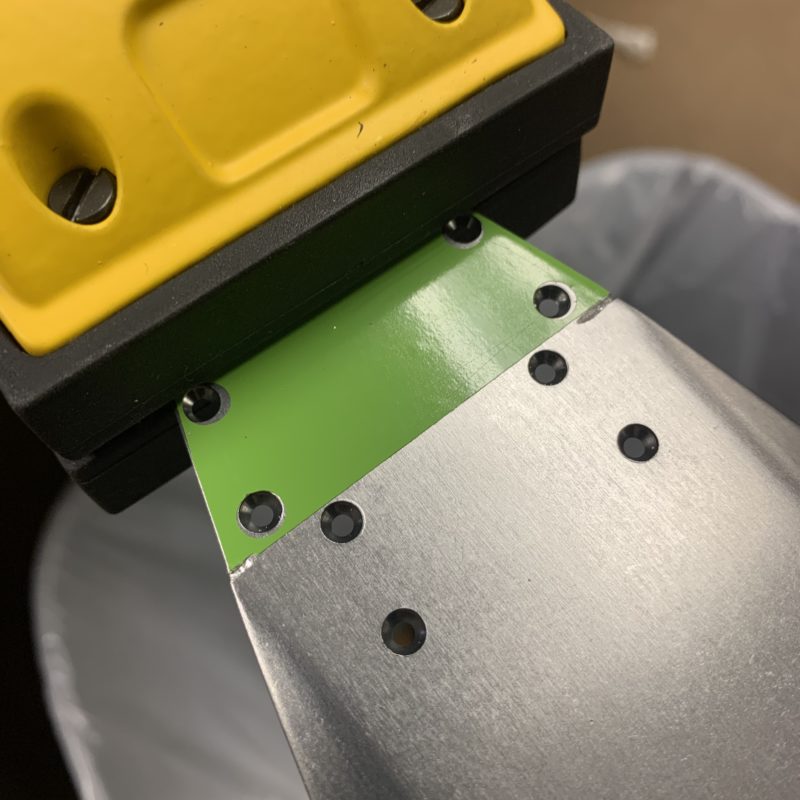
I typically make a few slow passes on the end and work my way to the center. Take your time.
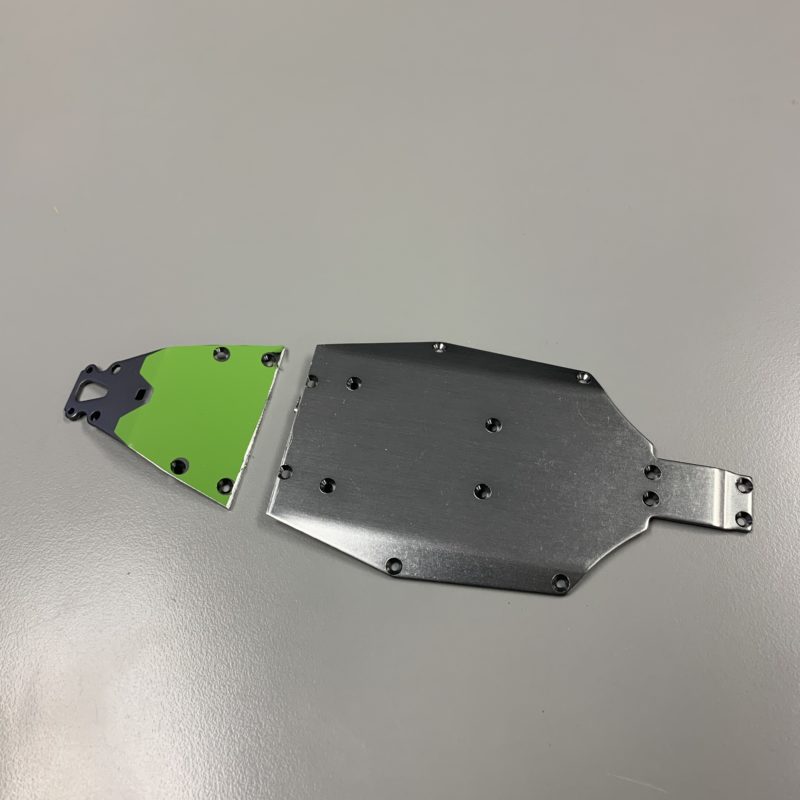
This is what we end up with.
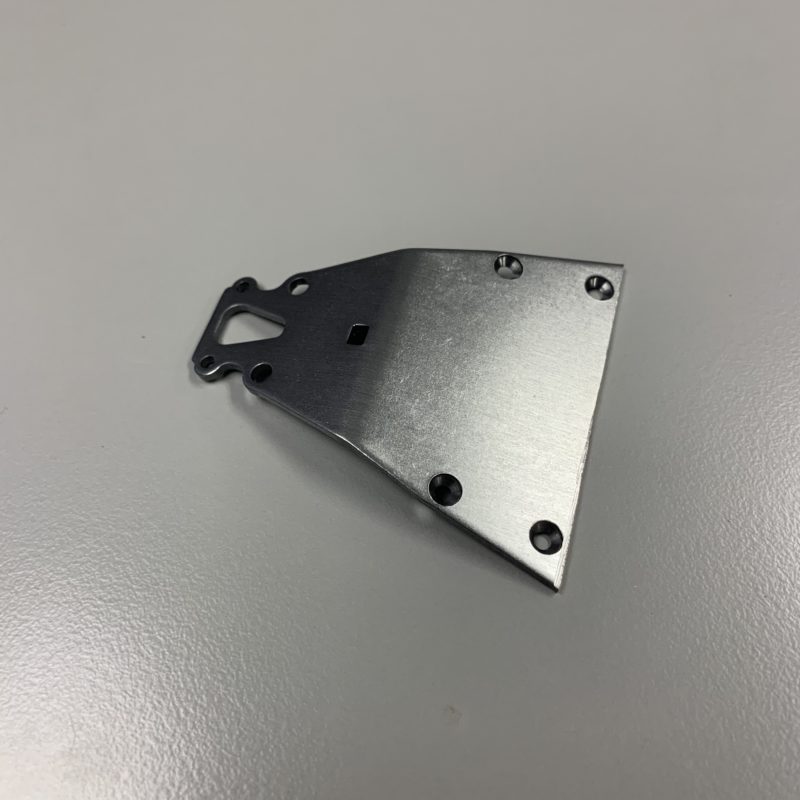
It’s a good idea to take a file or Dremel tool with a sanding wheel to clean up the sharp edges. Voila.. we have a kickup ready to install on the car.
Conversion Photos:
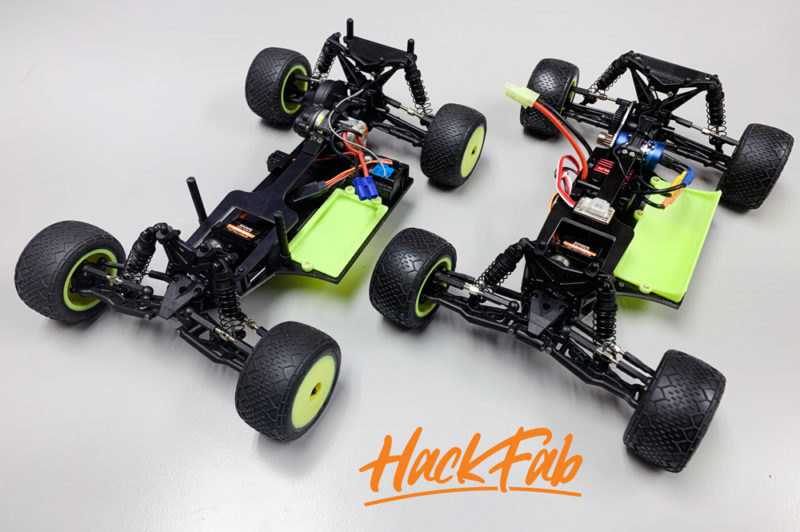
The orange battery tray was an early prototype in case you were wondering.
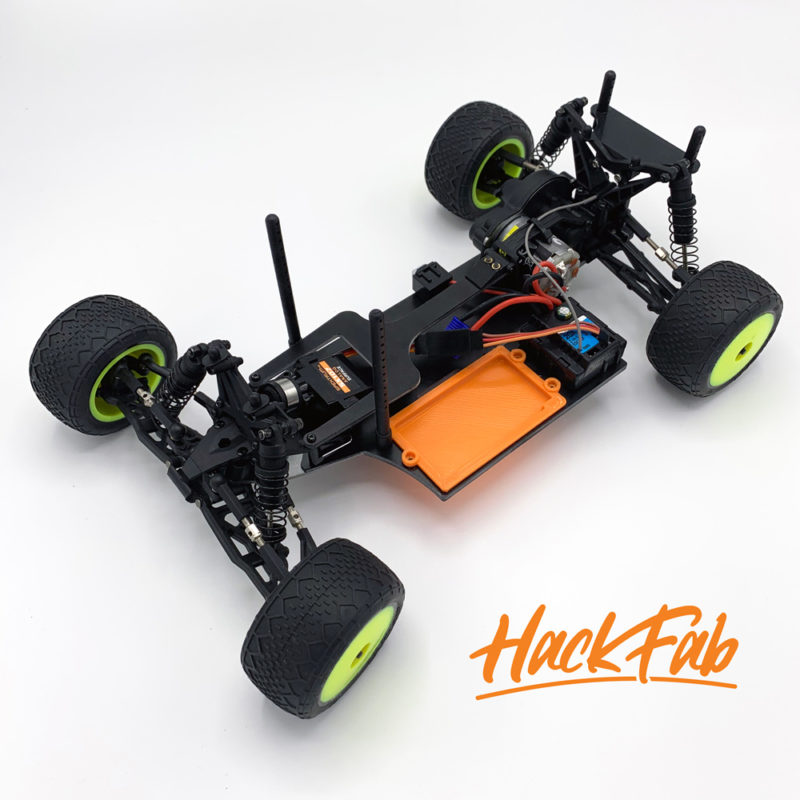
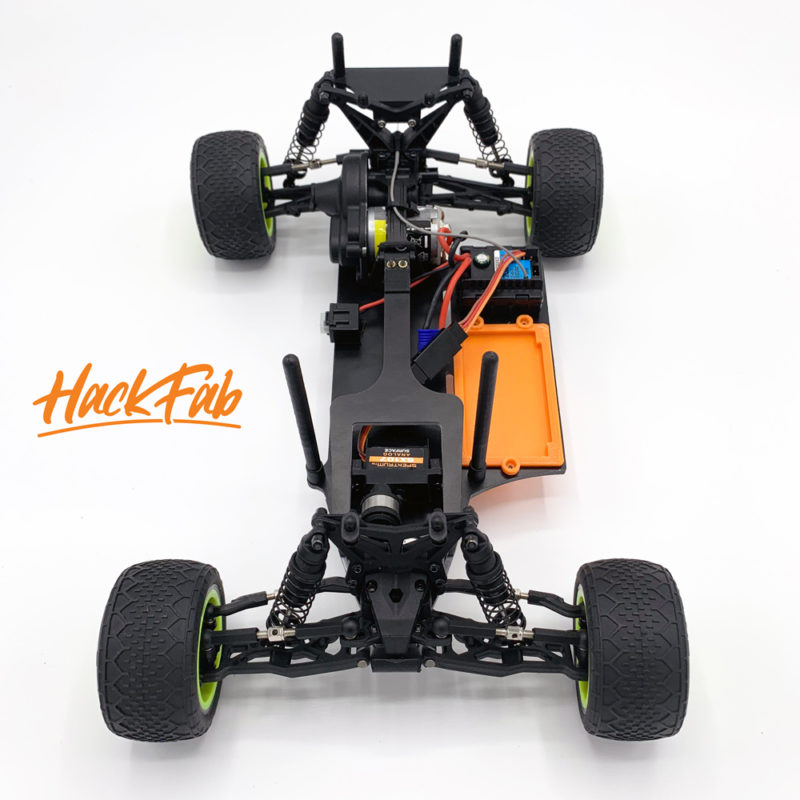

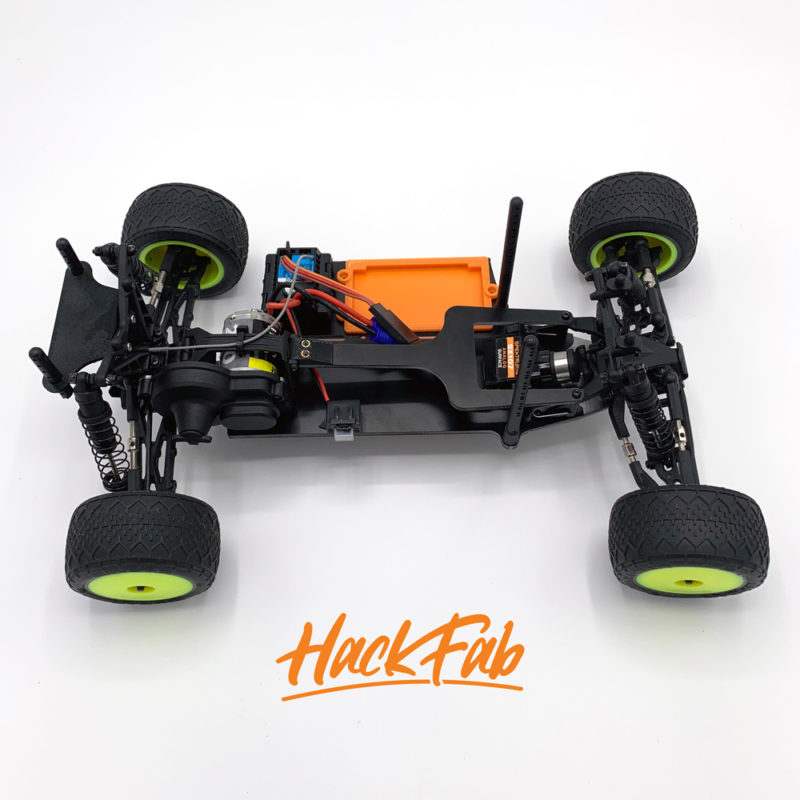
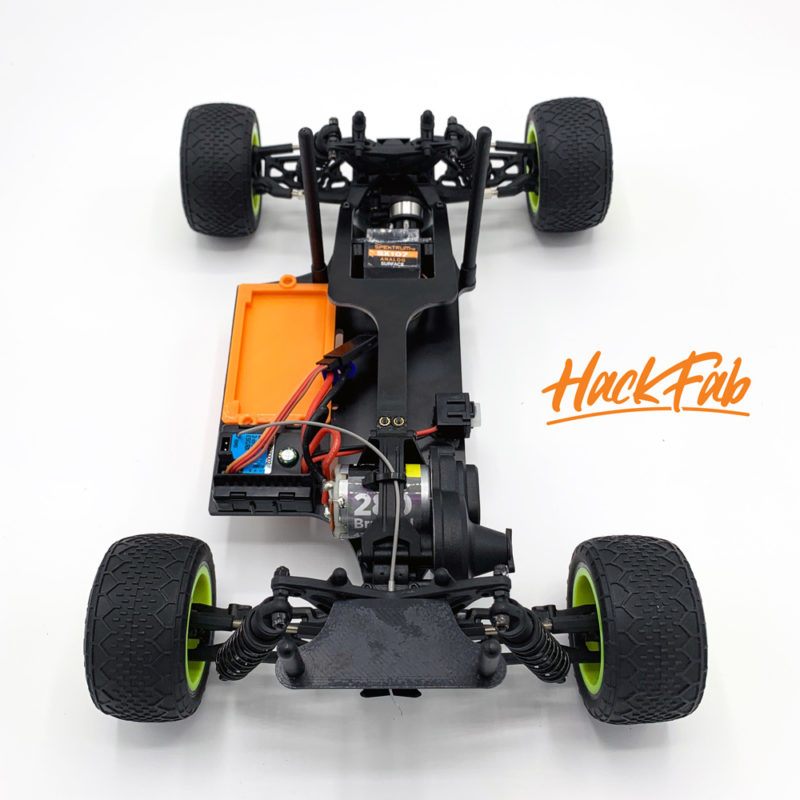
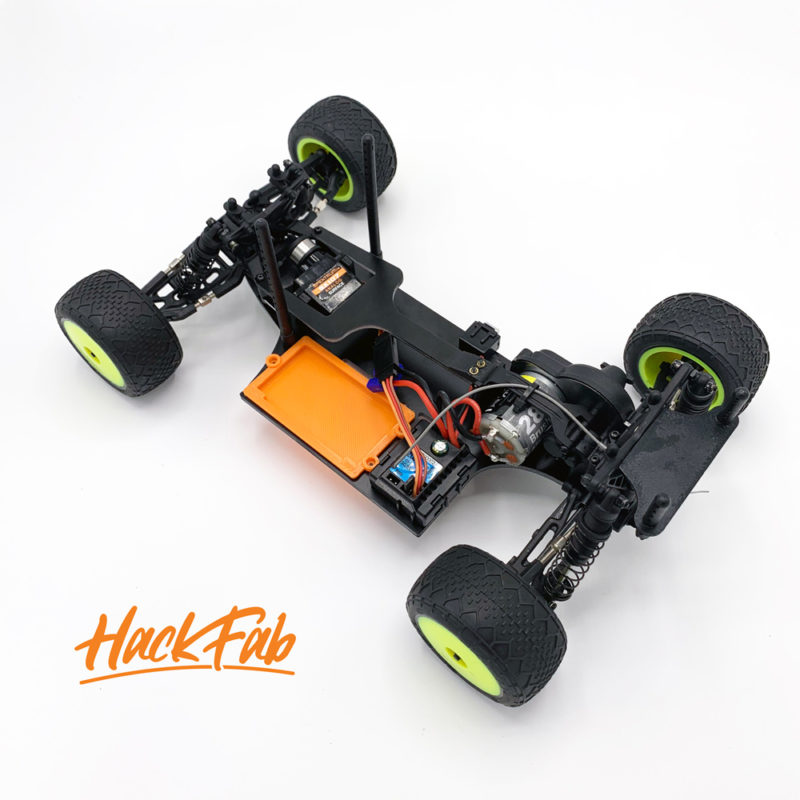
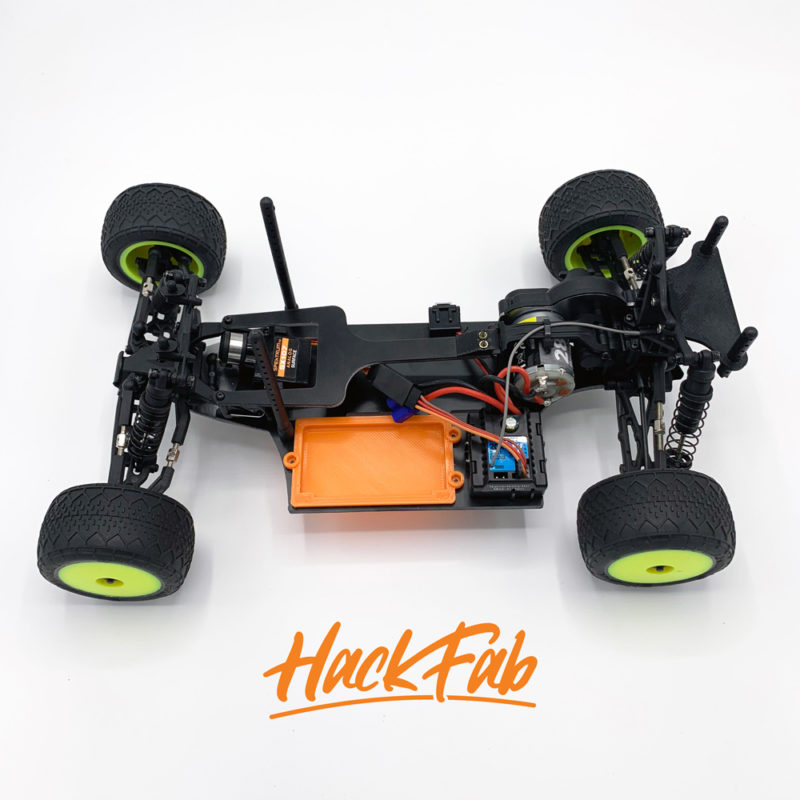
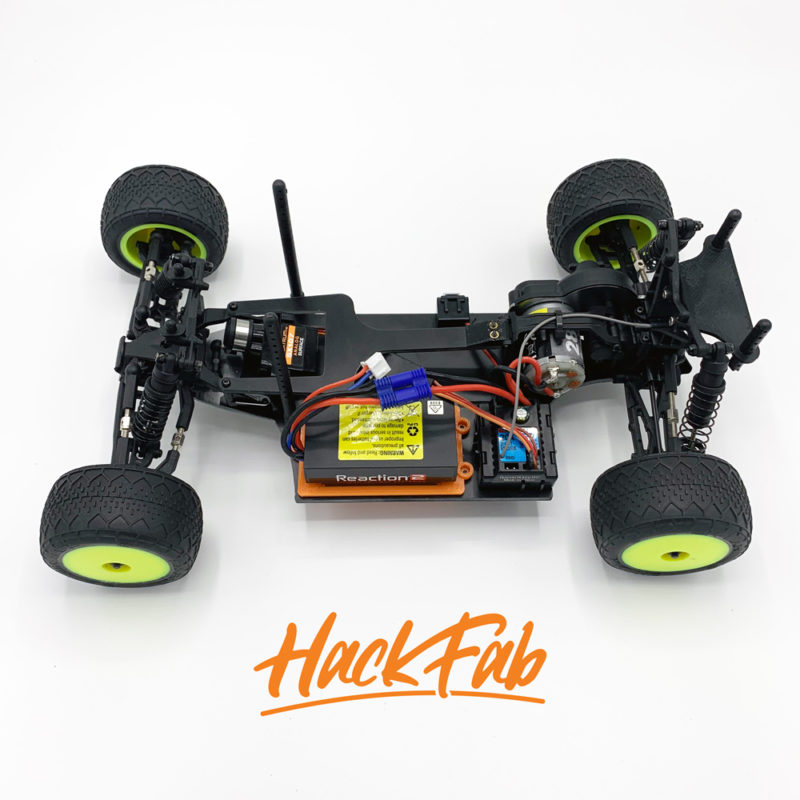
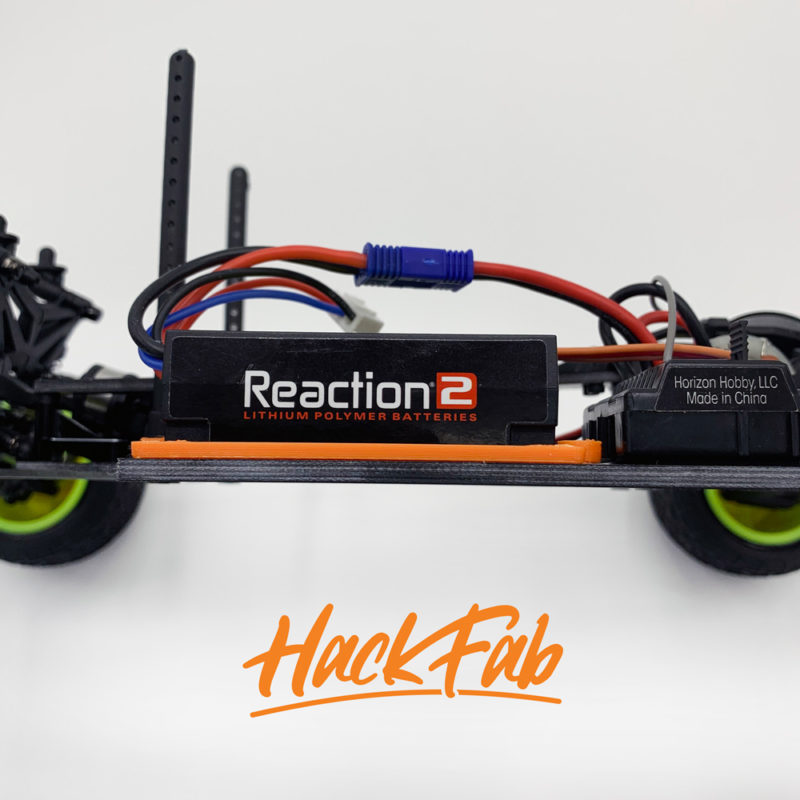
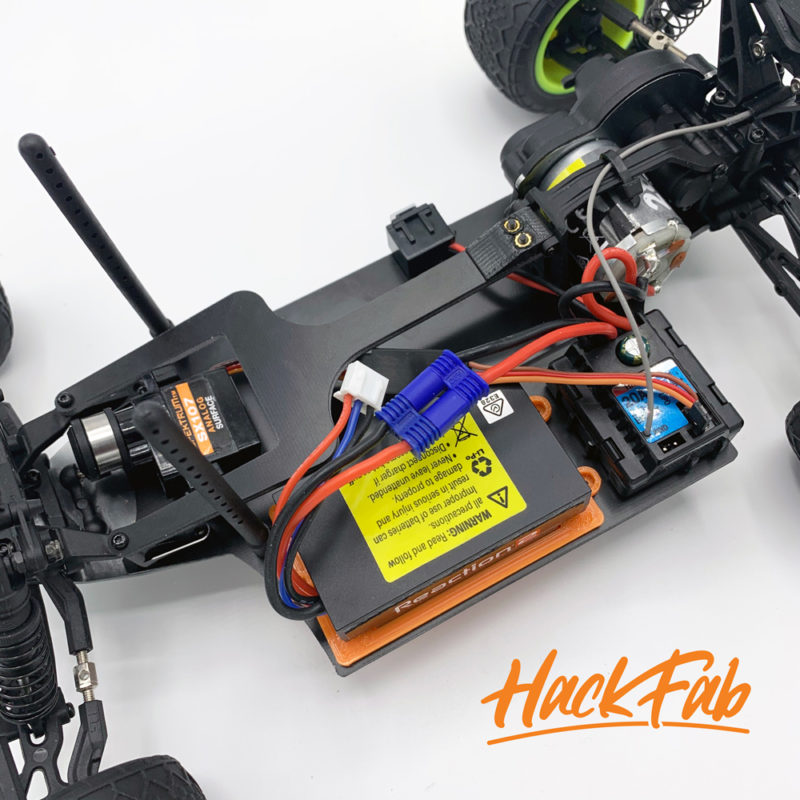
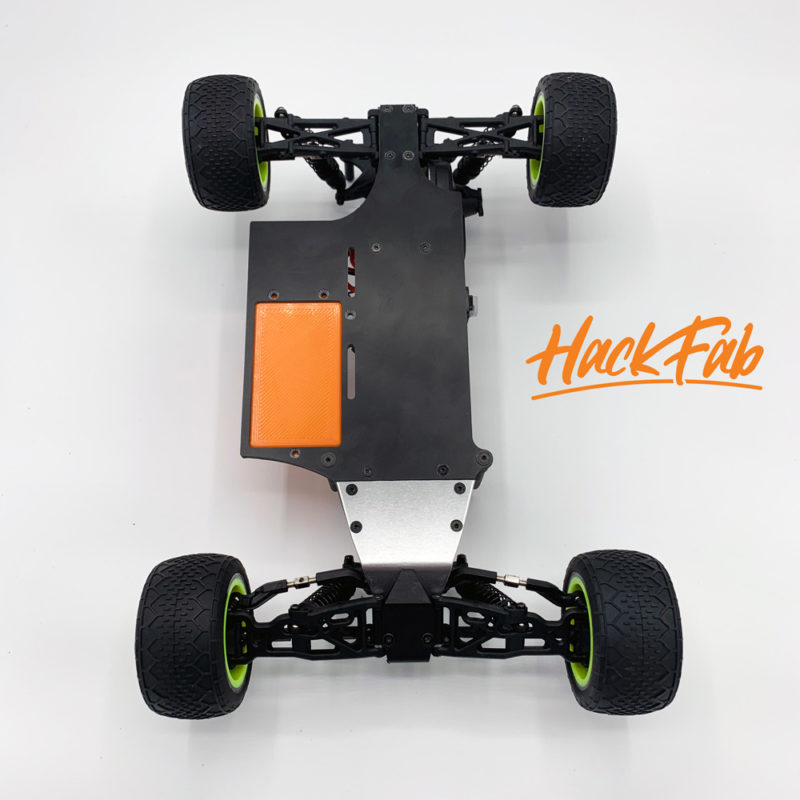
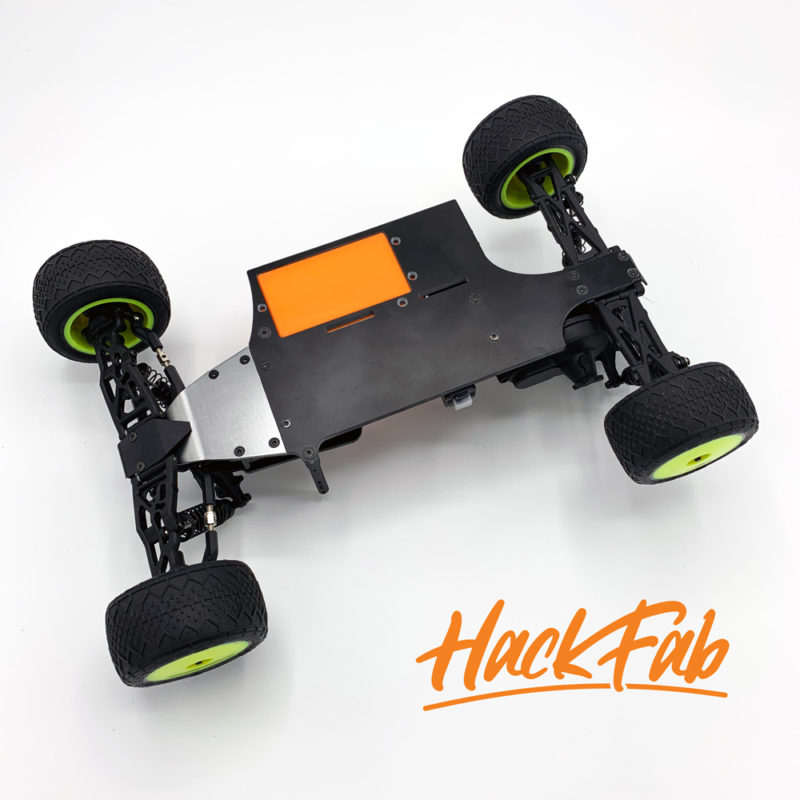
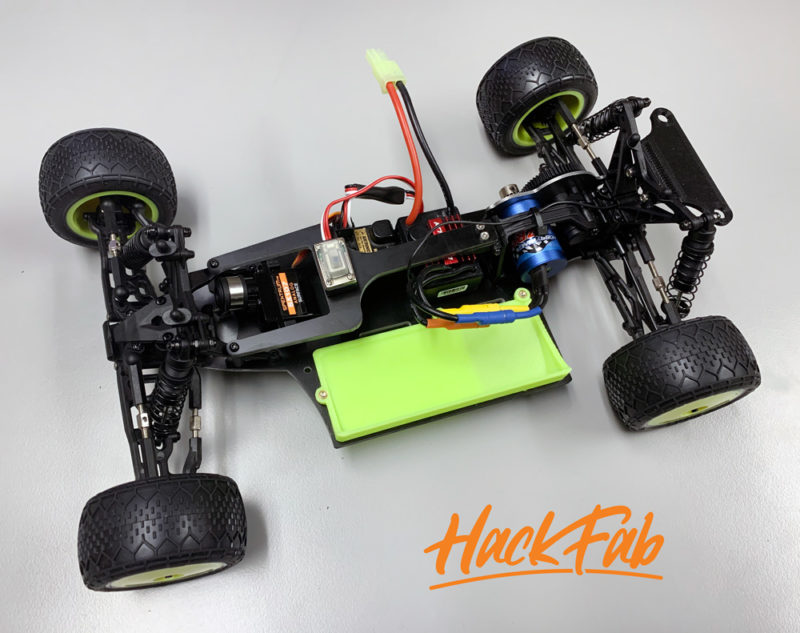
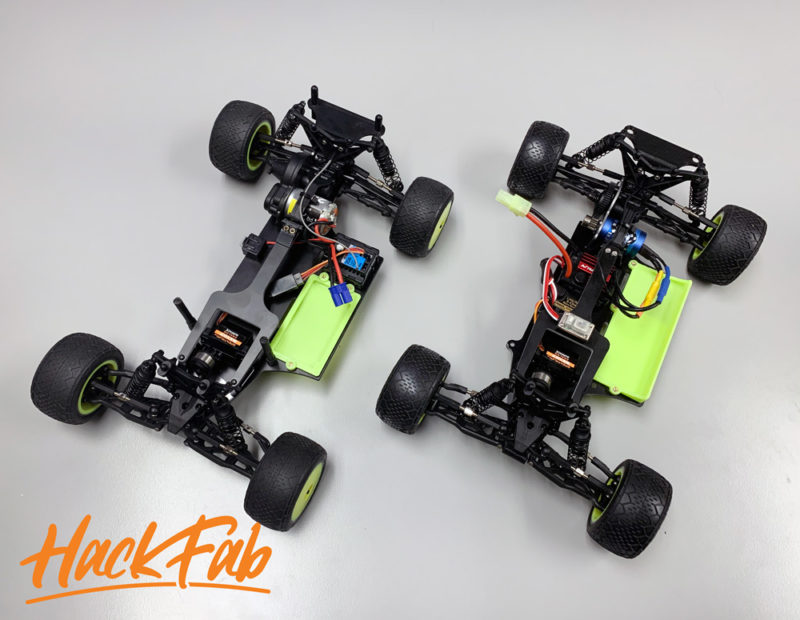
Here is a side by side with a stock electronics car (with short battery tray) vs. the brushless electronics car which is setup for a 1500mah lipo pack and the long battery tray.
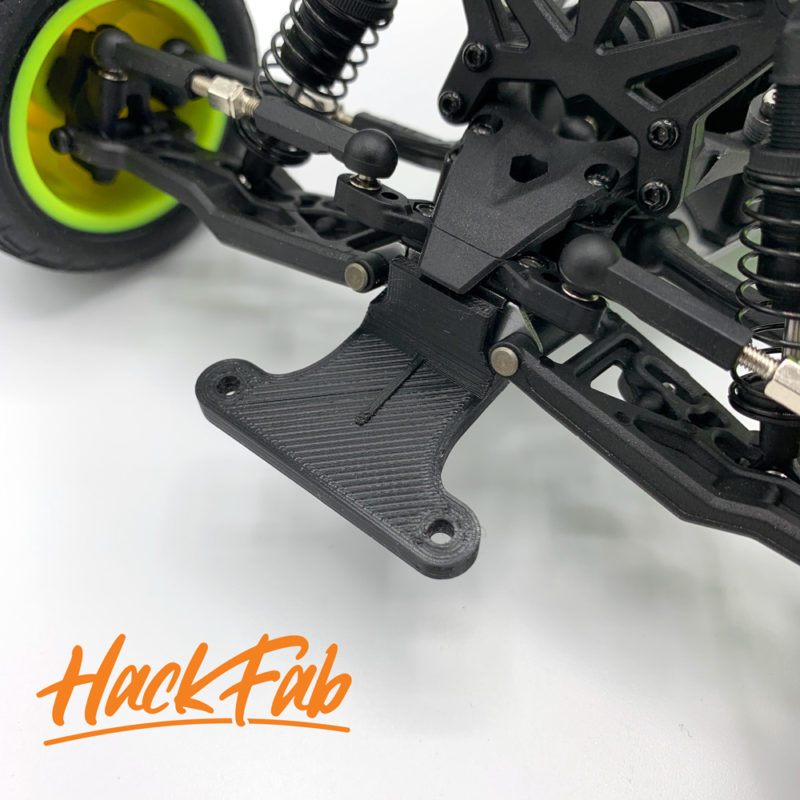
This is the Front Bumper Mount (not shown in above photos). This serves a few purposes. You can mount the nose piece of the Kipps Hobbies EDM body directly to it. You can mount the included 2″ body posts directly to it for various body options. You can also use it to mount our optional Front Bumper.
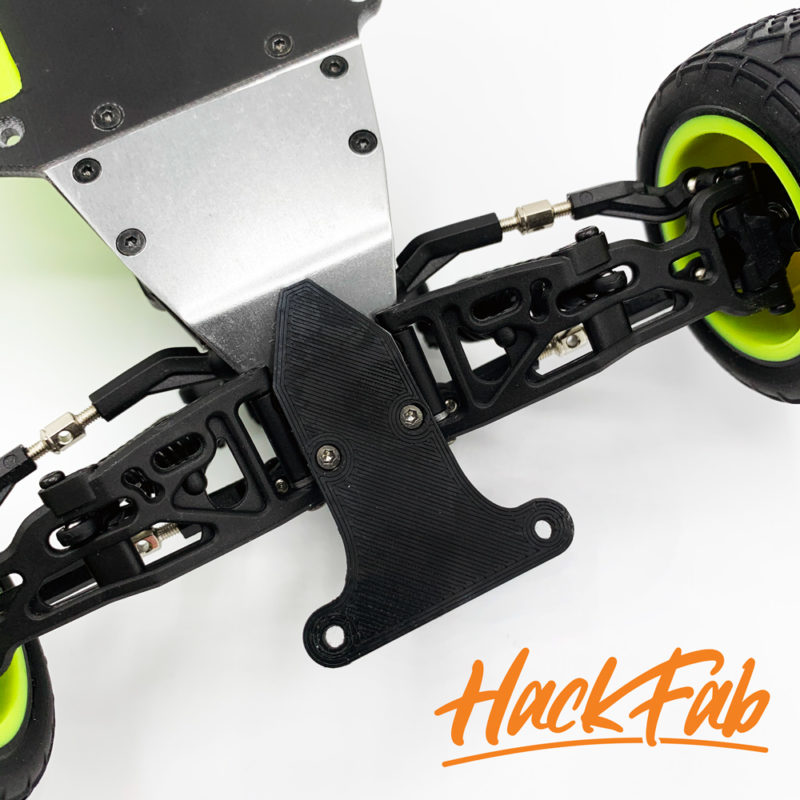
This bolts on in place of the stock mini-bumper and includes m2x14mm screws to reach up into the locknuts on the pivot block.
Optional Parts:
We have a couple optional parts for the conversion kit. These allow to better fit other bodies depending on your needs.
Late Model Front Bumper
This front bumper can be mounted directly to the Front Bumper Mount (pictured above), via the included blue aluminum 4-40 screws and locknuts. We chose aluminum, as this would create a sheer point under a heavy hit and hopefully prevent damage to the rest of the car. The Front Bumper has a few different hole location options in it to allow flexibility in mounting a variety of bodies.

Rear Body Mount Extension
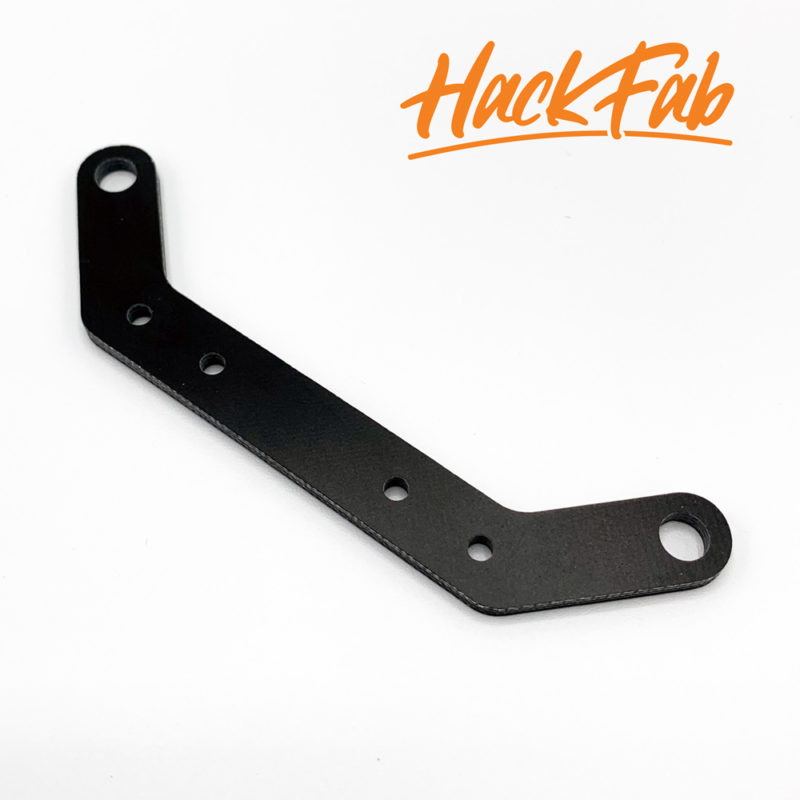
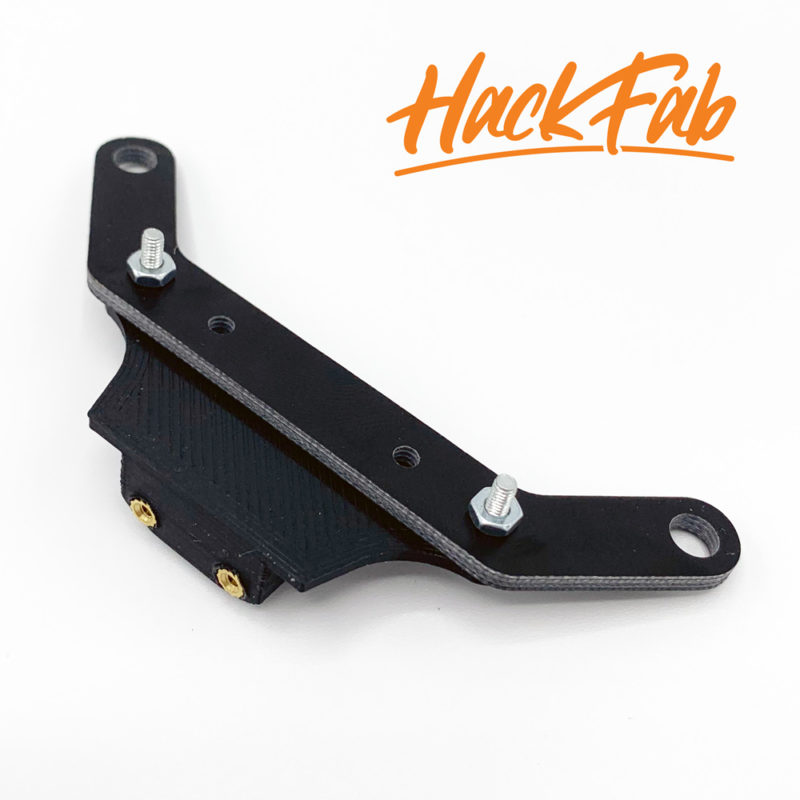
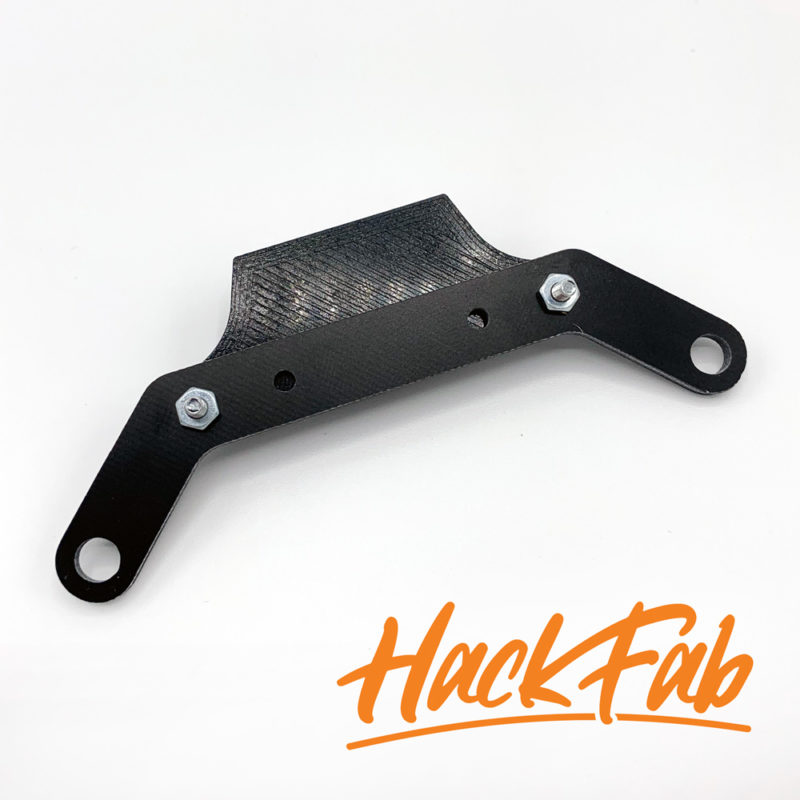
This part bolts to the included rear body mount in the kit. It essentially widens the body mount location to better support the body through the corner and also moves the mounting point farther back. This may or may not be required depending on your application. Screws are not included and you will have to drill your own holes in the original body mount. We did it this way because some folks prefer to mount at an angle and this allows that flexibility. Shown below as mockup only.
Body Fitment Guide:
Kipps Hobbies Mini Eastern Dirt Modified Body
Our kit was made to essentially have this body bolt right up. All parts needed to mount this are included in the kit (body itself you will need to get from Kipp). Simply use the standard rear body mount, and then take the two remaining body posts and run them in the two holes in the center of the chassis to support the deck of the body. The nose can be mounted directly to the front bumper mount (you will need your own screws for that).
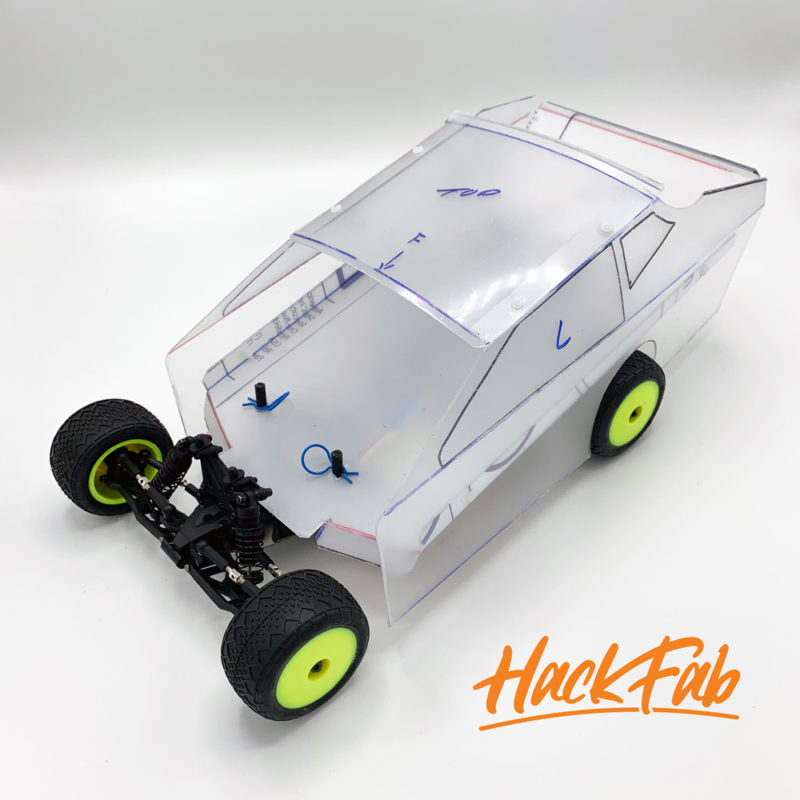
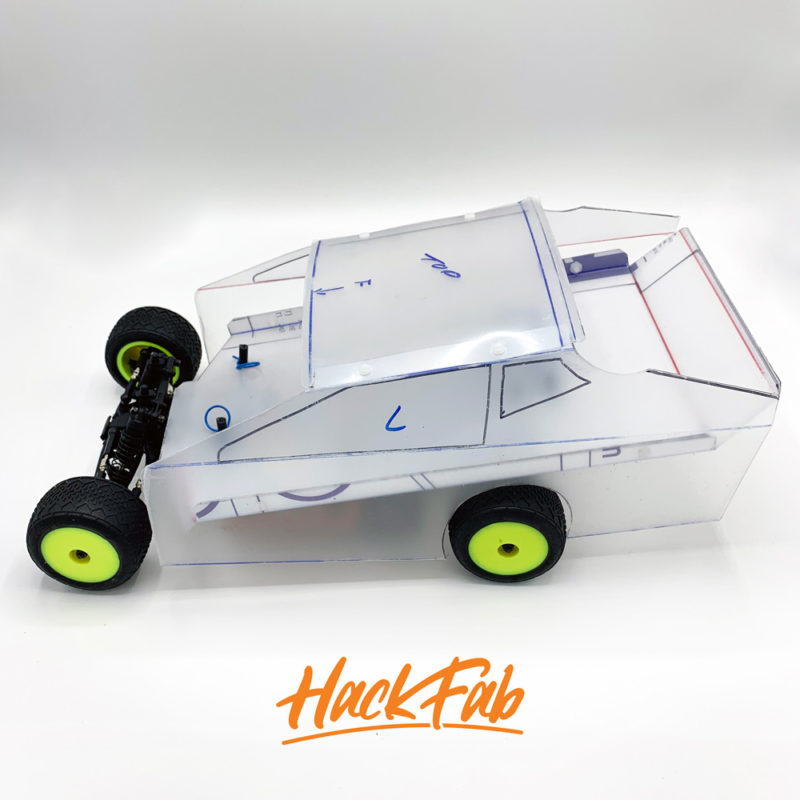
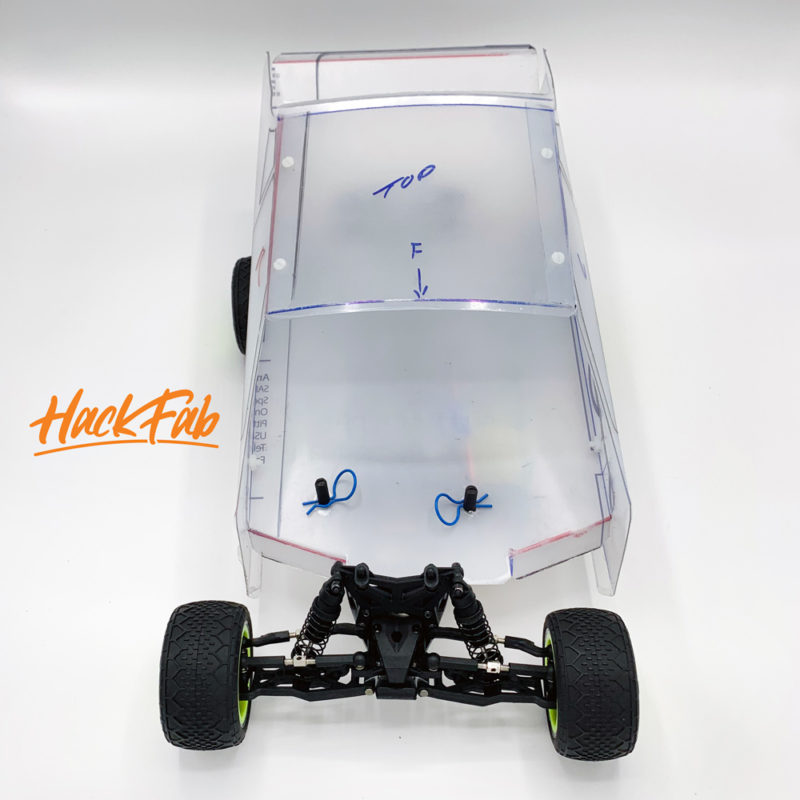
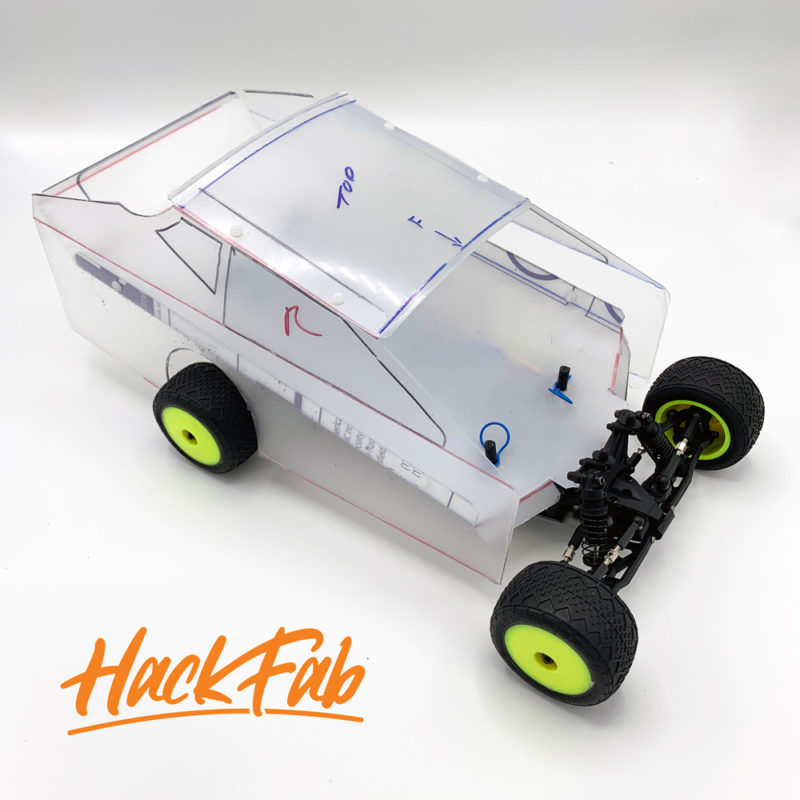
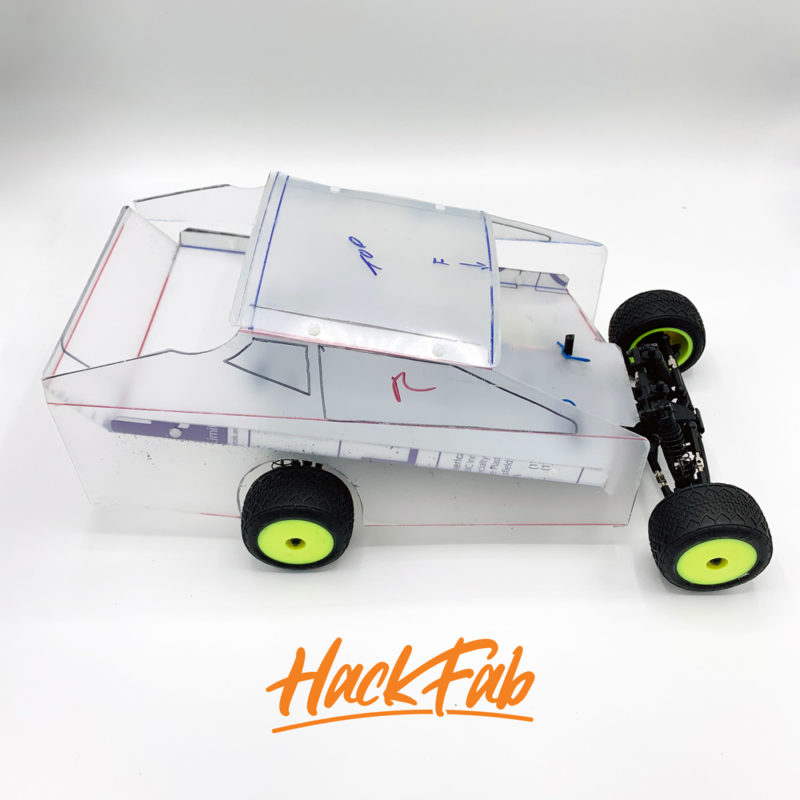
It looks much better with a vinyl wrap.
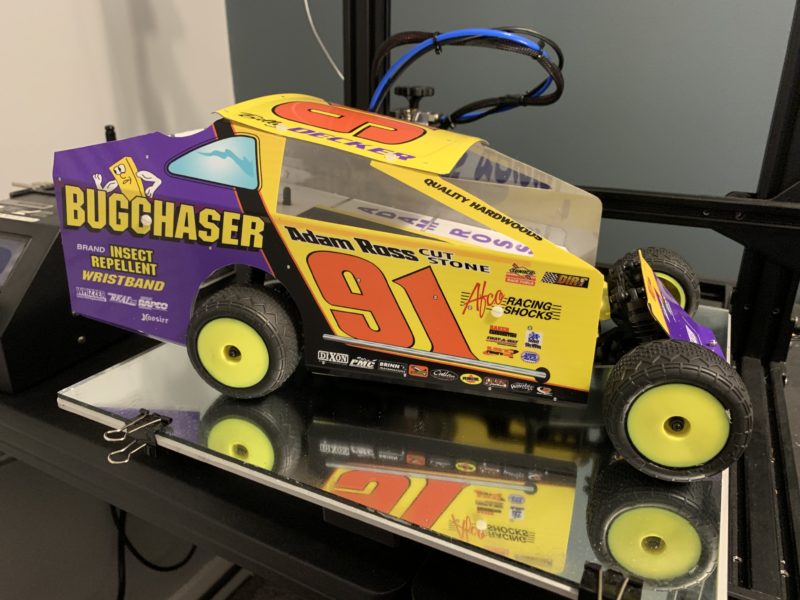
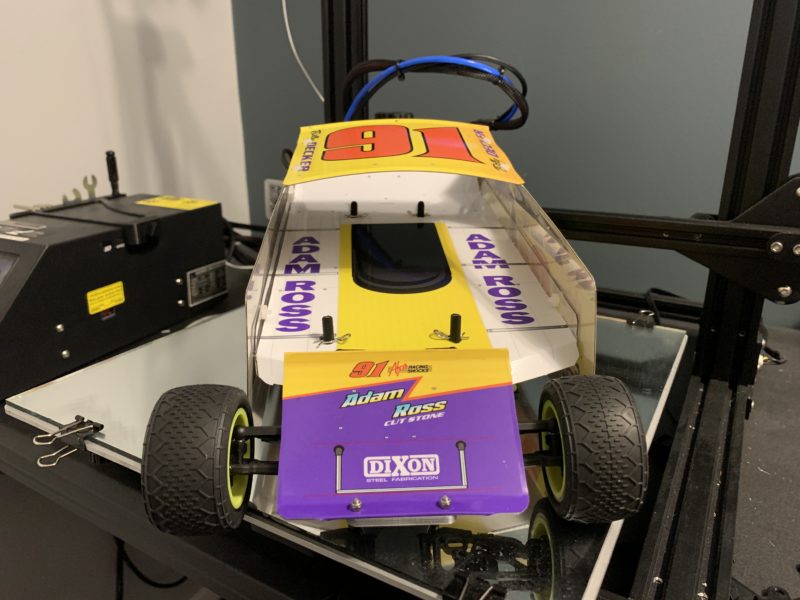
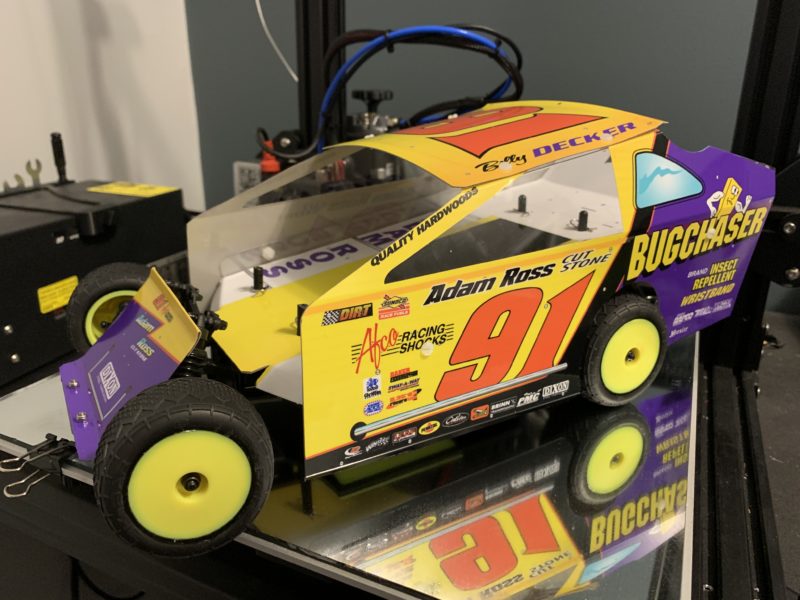
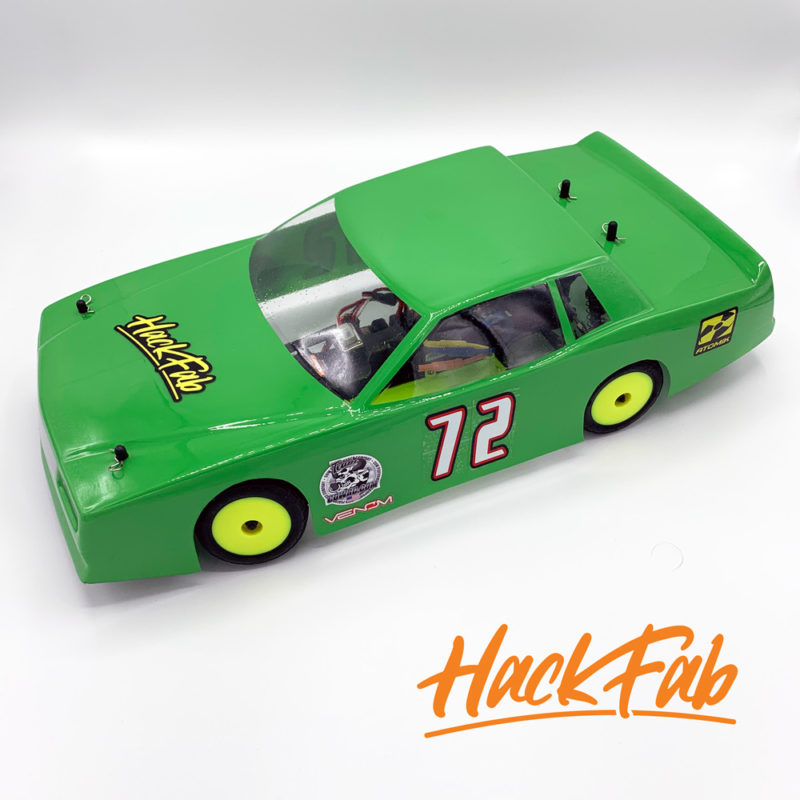
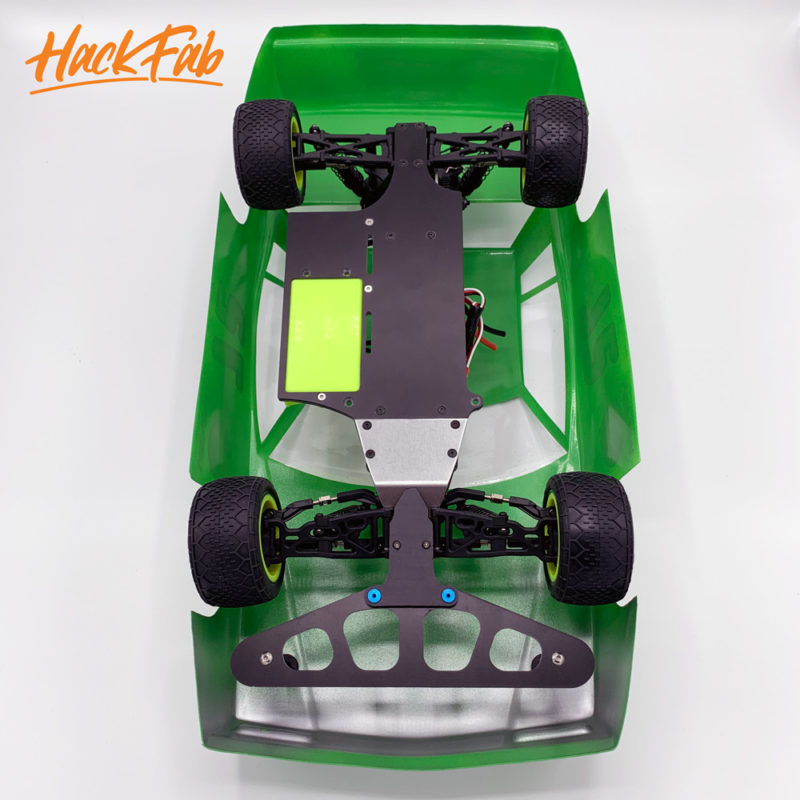
McAllister #267 Monte Carlo for 1/18 Losi
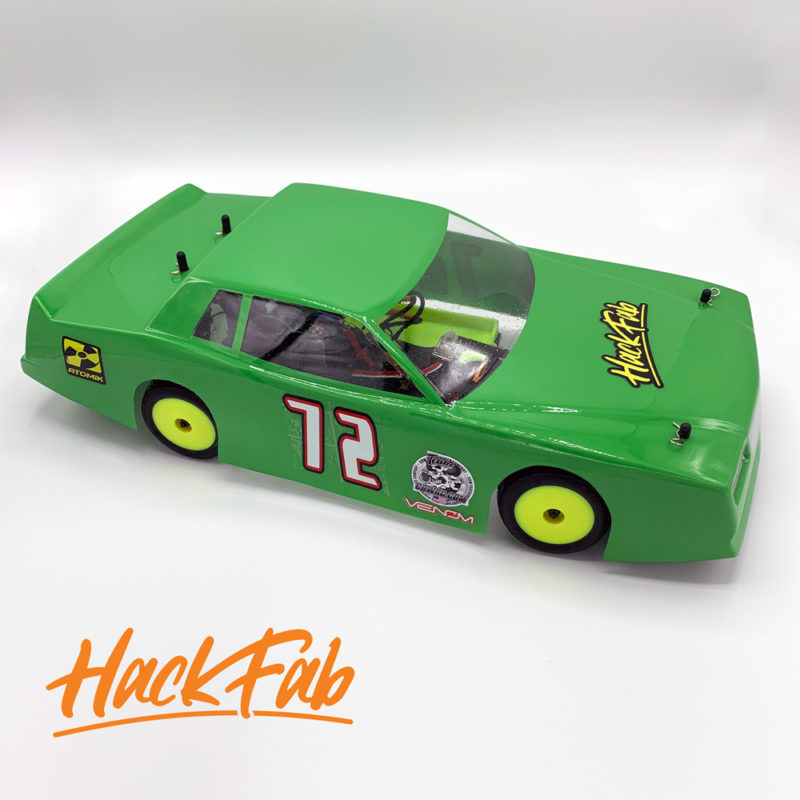
This cool Monte Carlo body would make for an awesome Street Stock. This body would be able to mount with the base kit if desired by putting the body posts on the front bumper mount. However, it also works with the optional Front Bumper as shown below (preproduction bumper design).
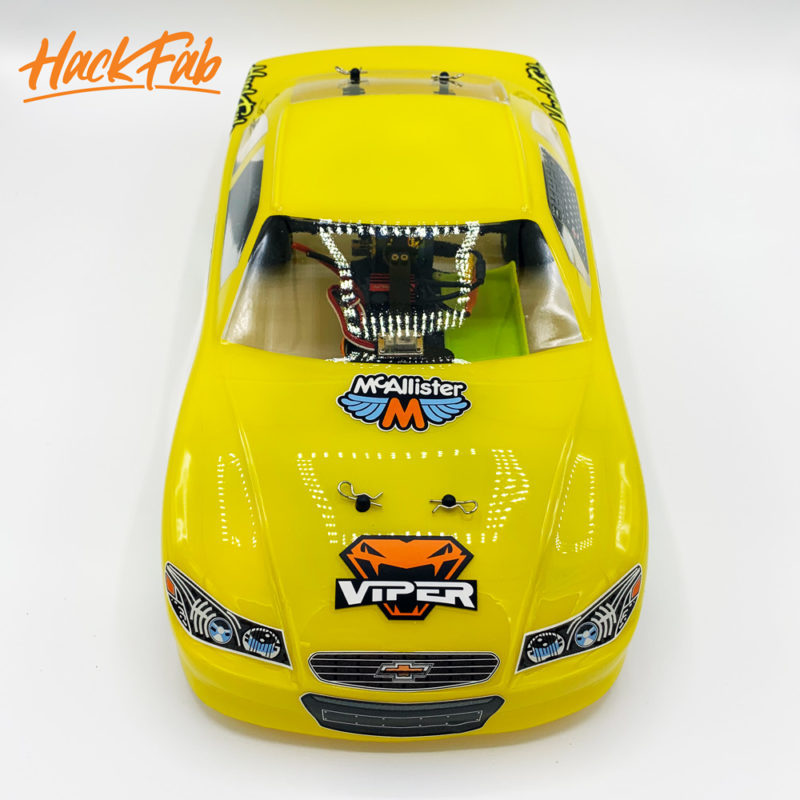
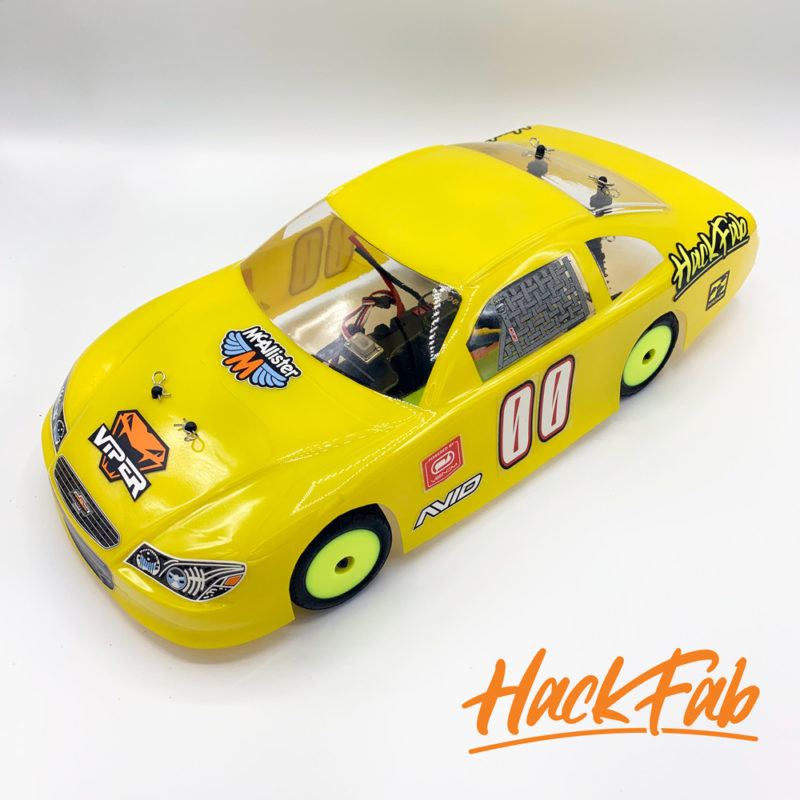
McAllister #258 1/18 COT STOCK CAR BODY
This is a great option for those that love NASCAR. It could be a pretty slick stock car class. To mount this below we just installed the front body posts on the front bumper mount. It should also work with the optional front bumper.

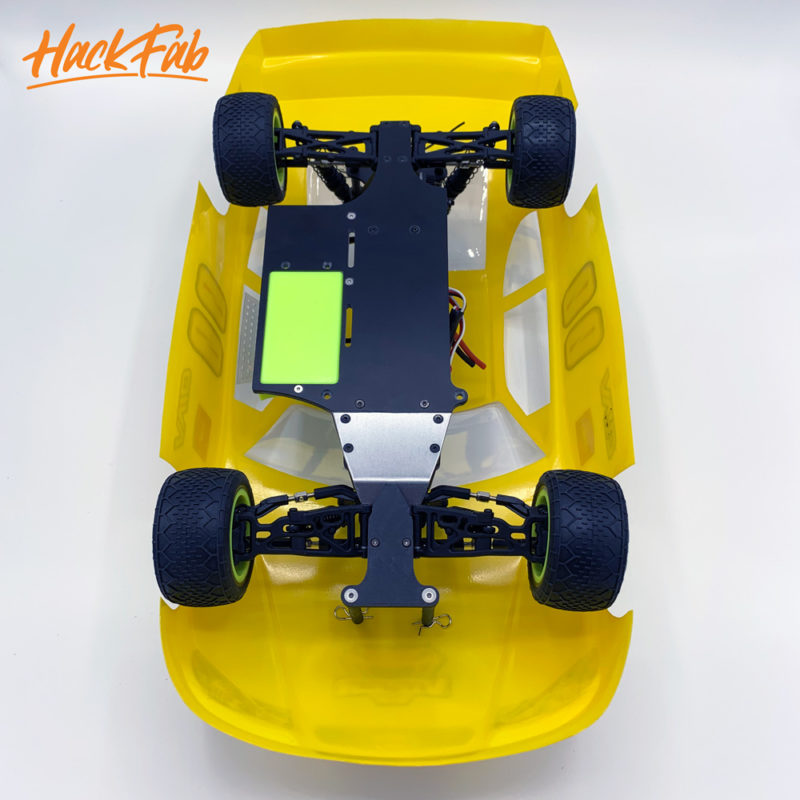
McAllister #281 MINI NASTRUCK CAR BODY
This is a great option for those that love the NASCAR Truck series. It could be a pretty slick stock car class. To mount this below we just installed the front body posts on the front bumper mount. It should also work with the optional front bumper.
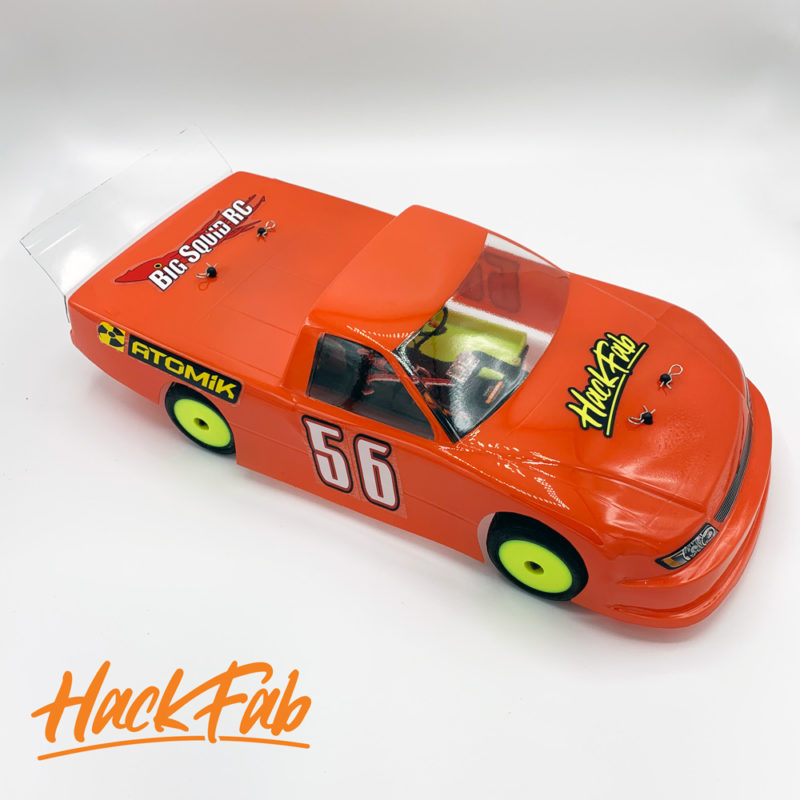
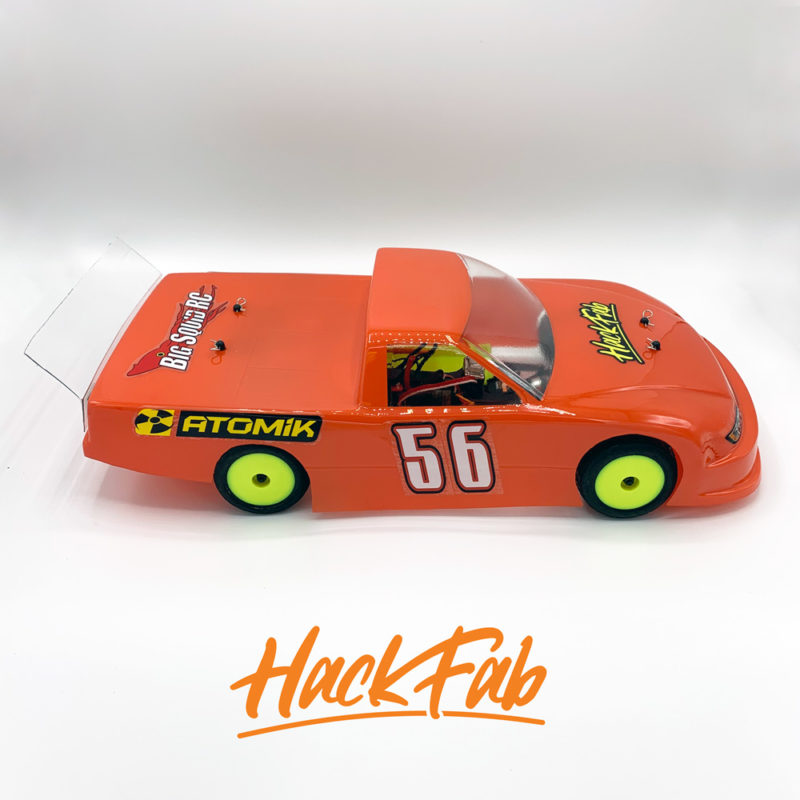
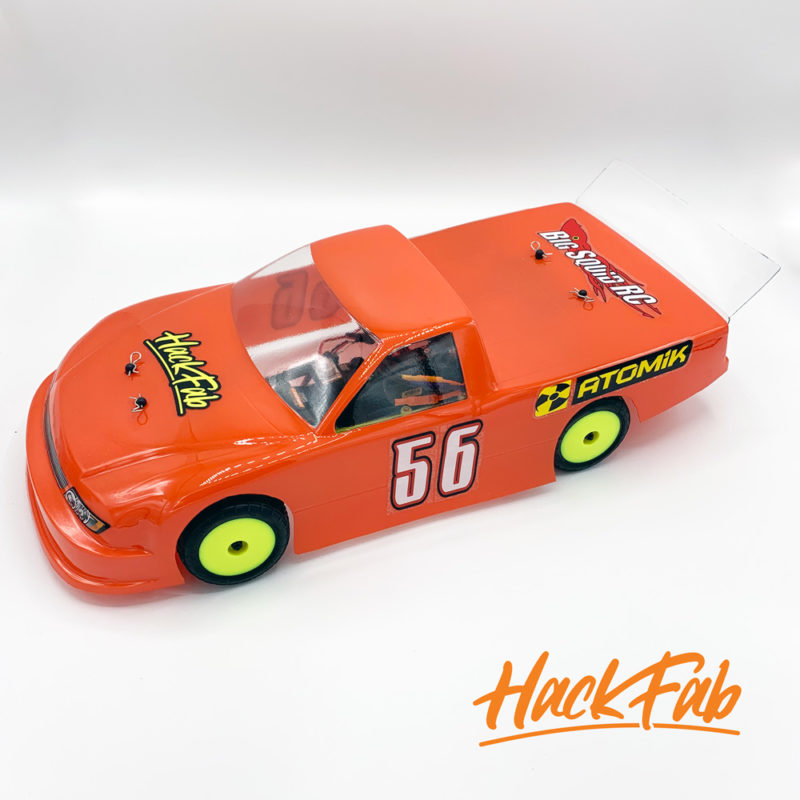
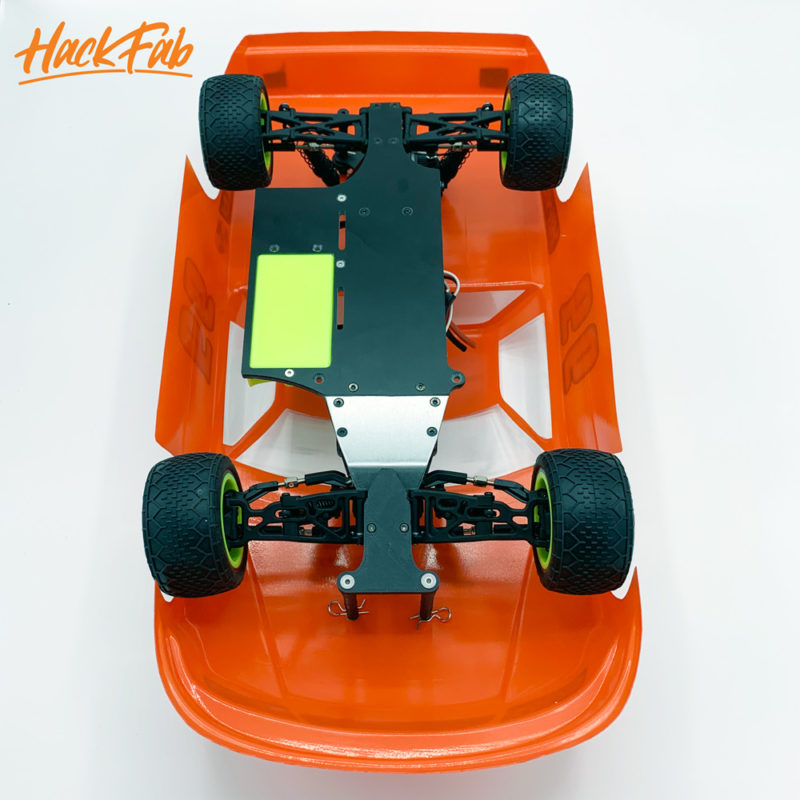
McAllister #274 MINI HEARTLAND MODIFIED BODY
If you prefer the Midwest style Modified, McAllister also has that as a 1 piece lexan option. It fits with the stock kit, no other parts required.
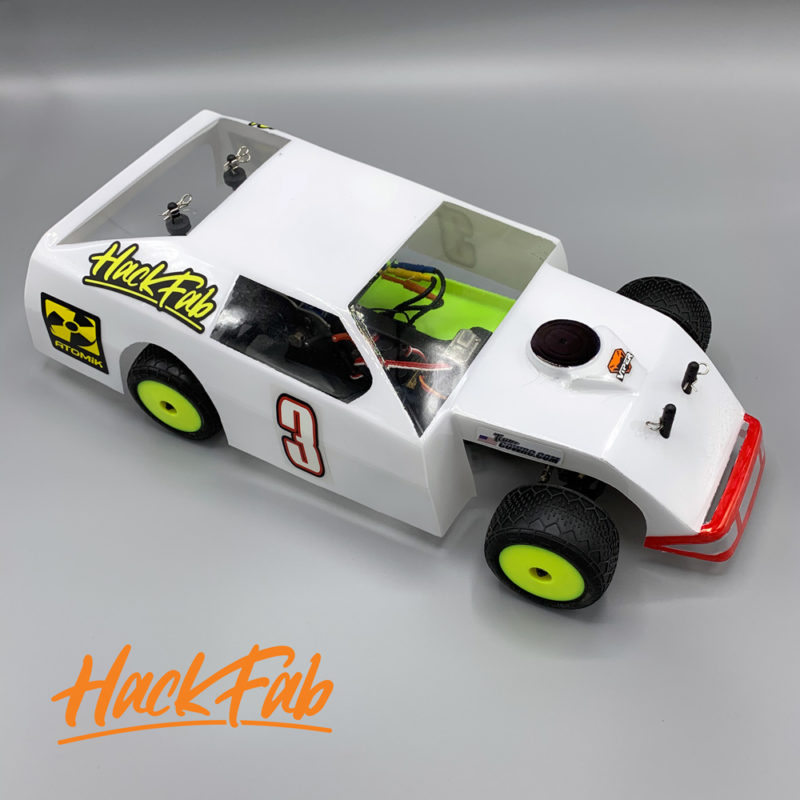
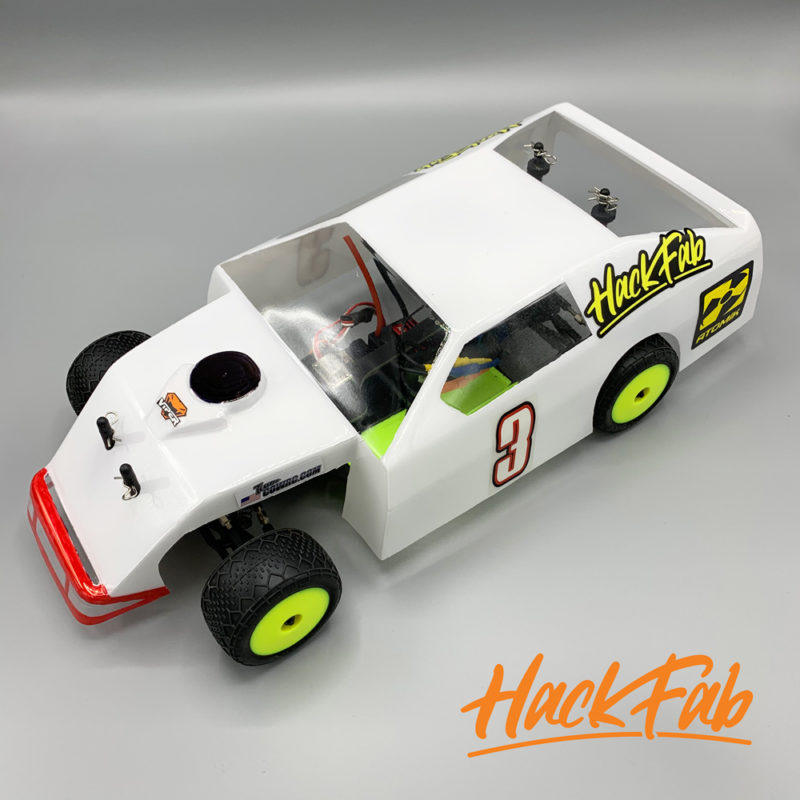
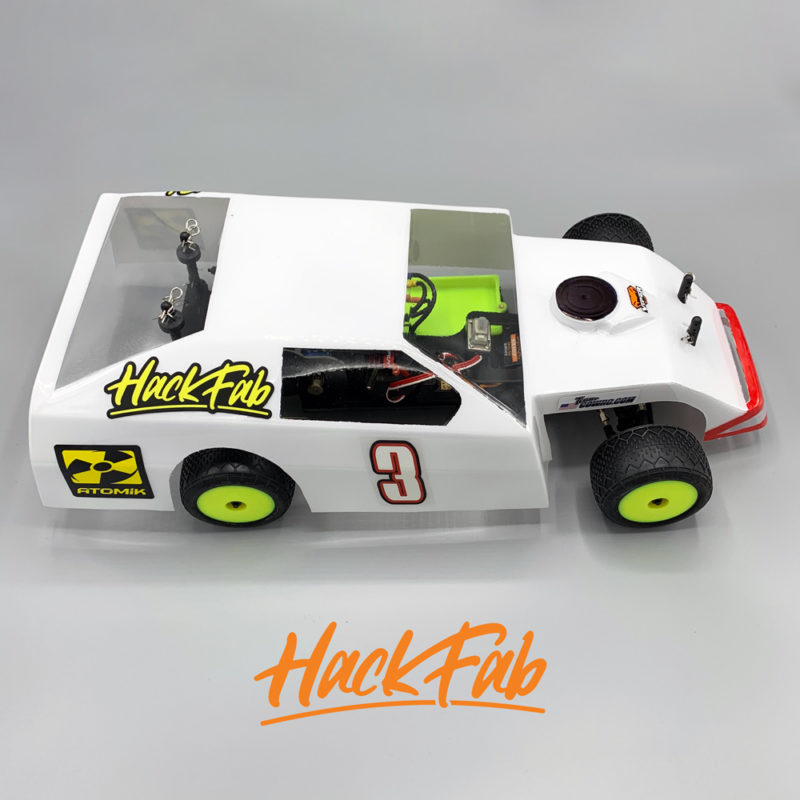
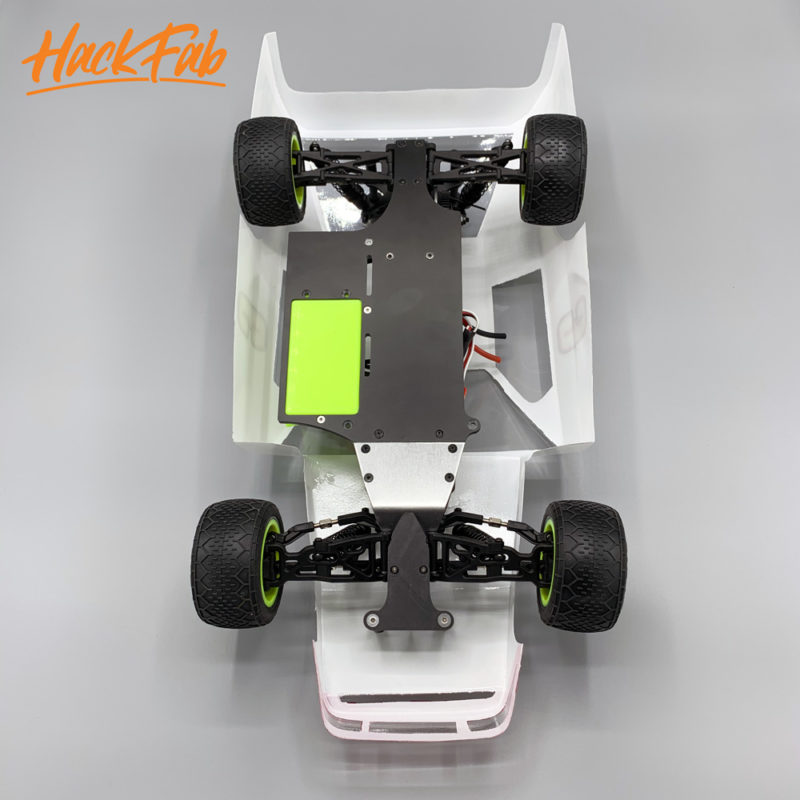
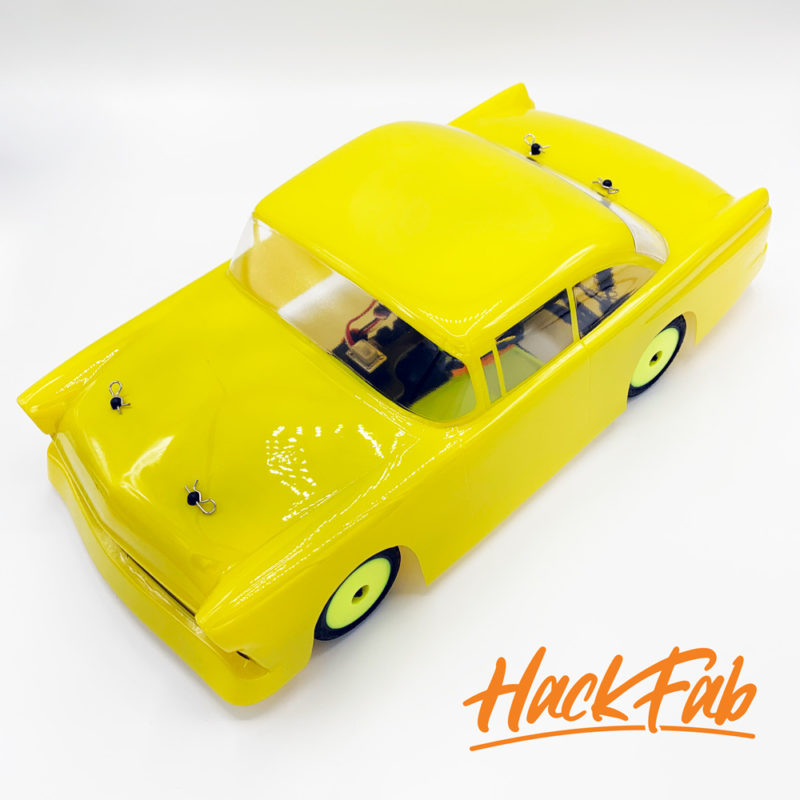
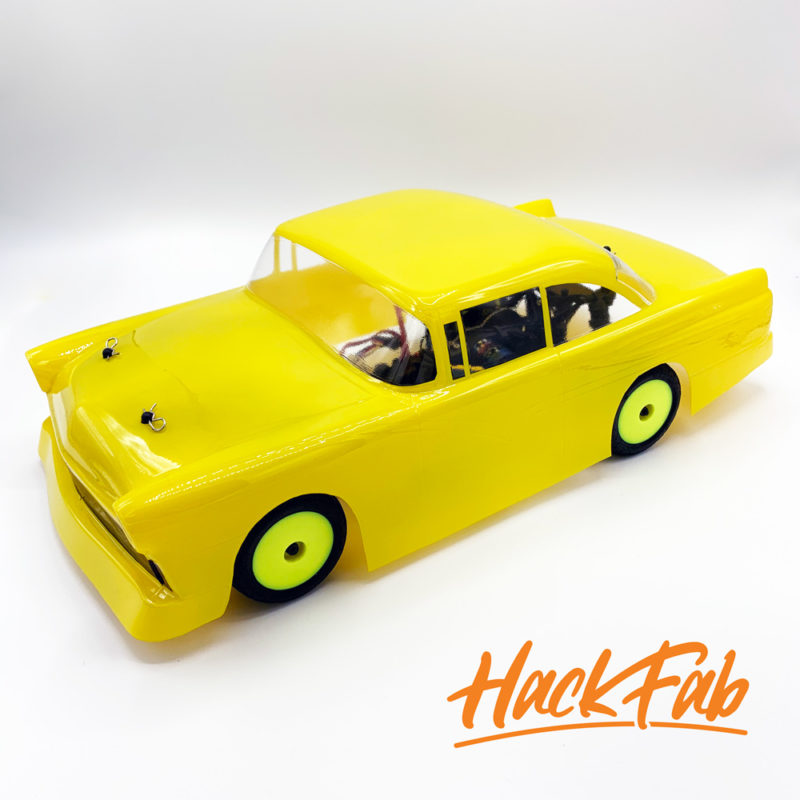
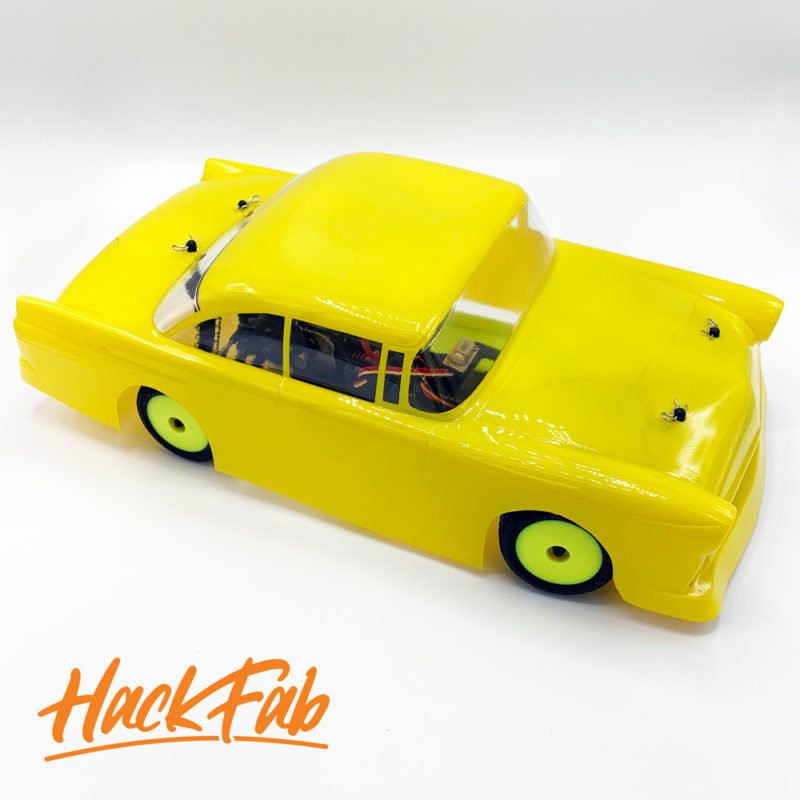
McAllister #288 MINI 56 FORD CAR BODY
Love 50’s cars or want to create a bomber class? Well this McAllister body fits our conversion as well. Works with or without the optional front bumper. McAllister also offers a 55 Chevy (#285) that would fit in a similar fashion.
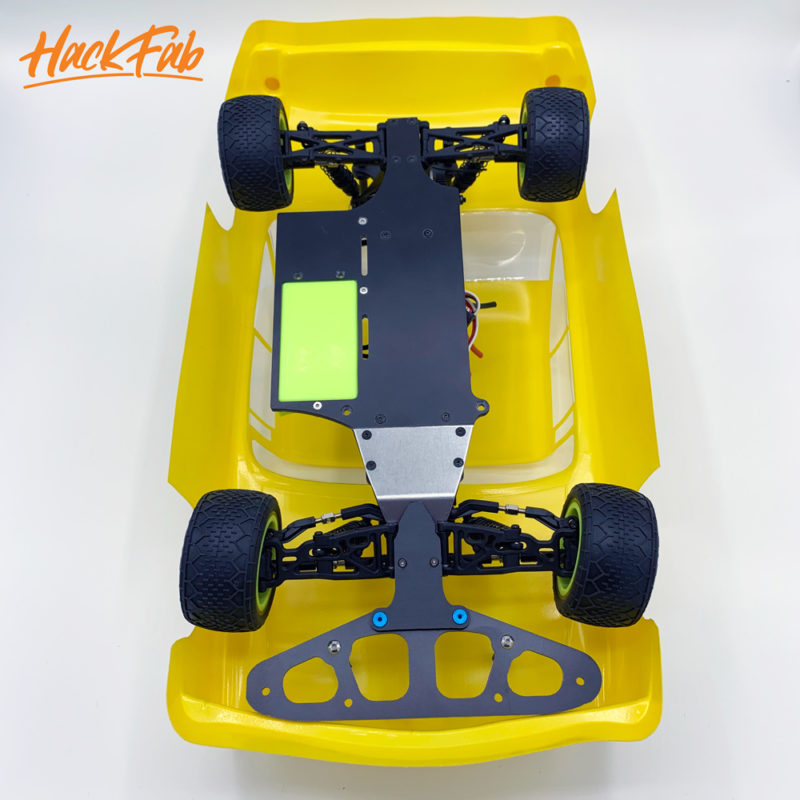
McAllister #287 MINI 69 MUSTANG BODY
Another great Street Stock option. This is mounted using the base kit. The front bumper DOES NOT work on this car as it interferes with the front spoiler. I am running the rear body mount extension in these photos, but it will work just fine without that if desired.
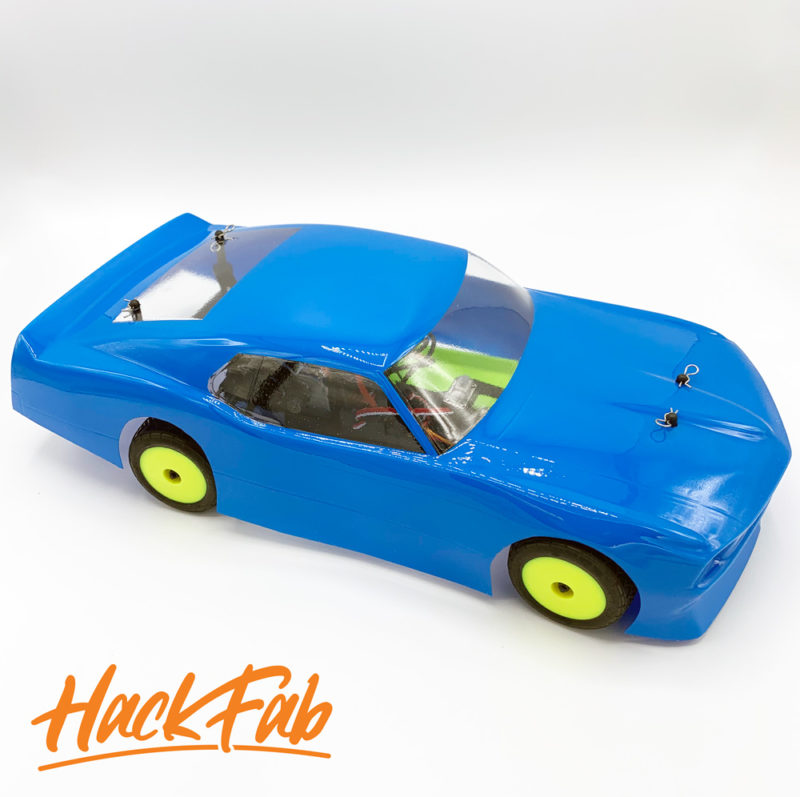
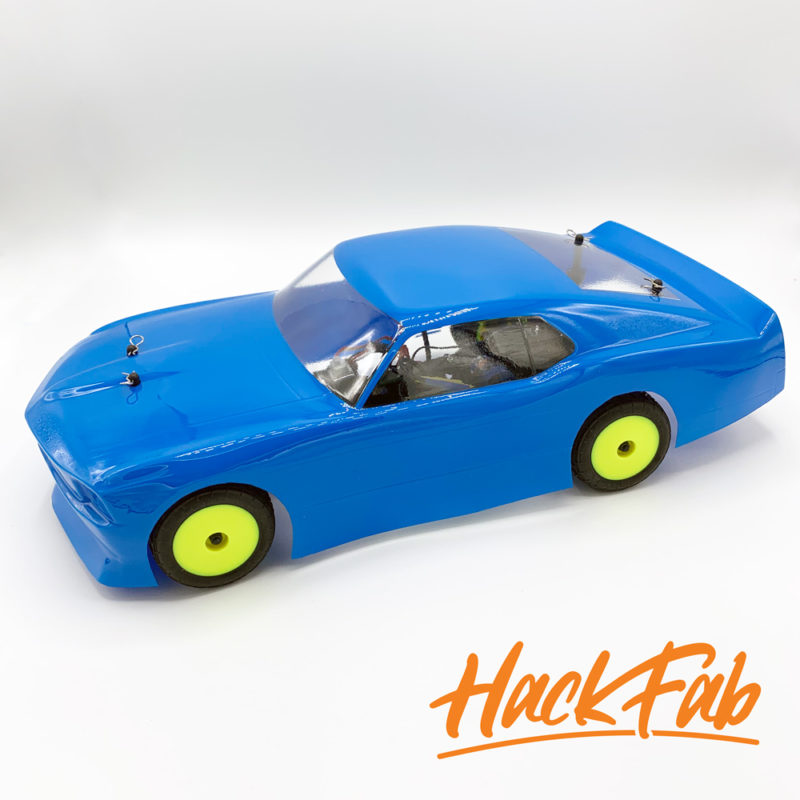
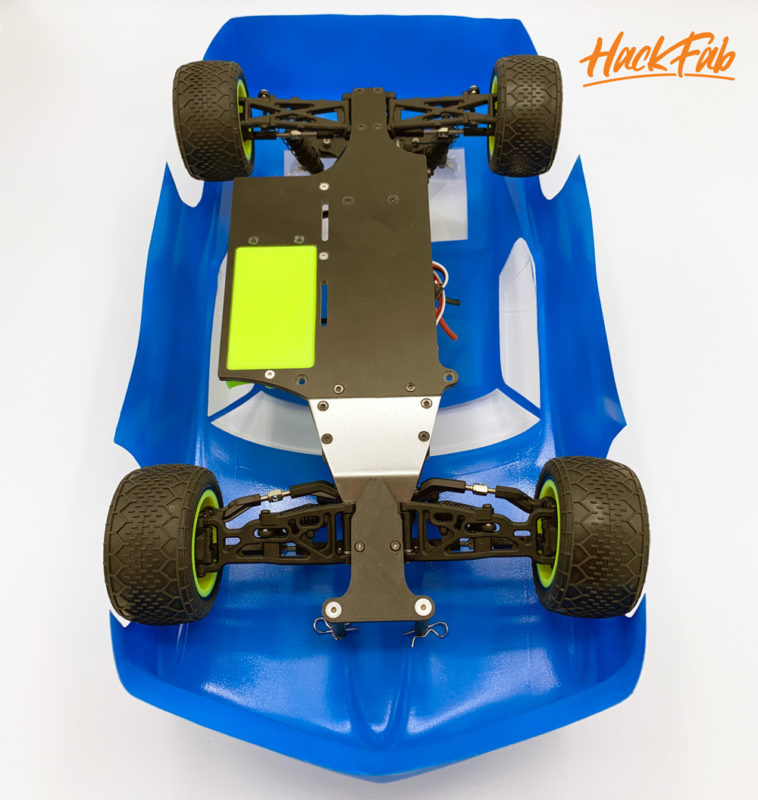
McAllister #269 GREENVILLE LATE MODEL BODY
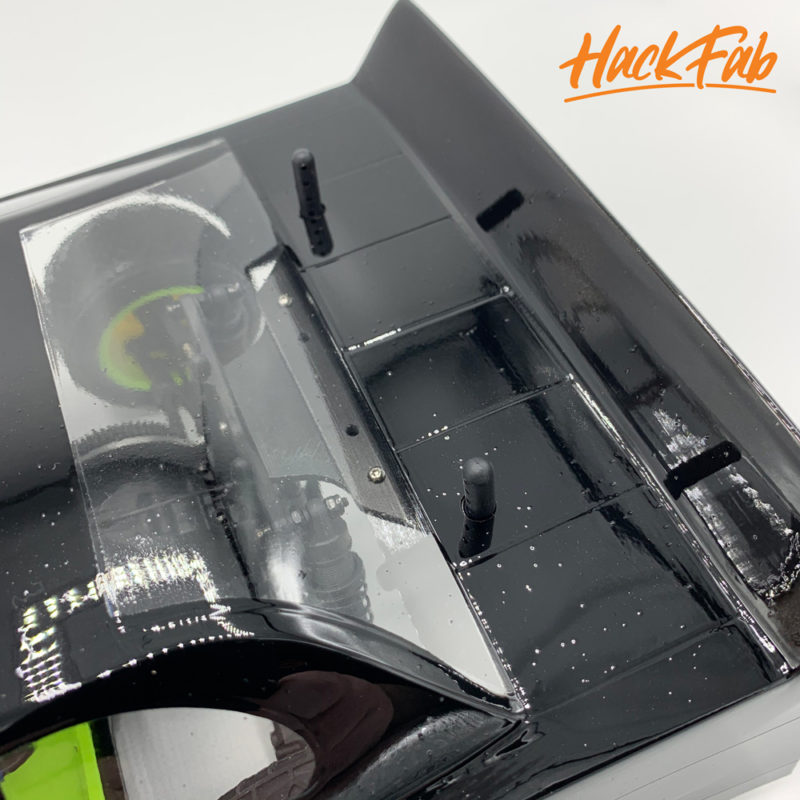
Finally, the moment you’ve probably been waiting for.. LATE MODELS! Both of these next two bodies from McAllister mount best when paired with the optional rear body mount extension and the front bumper.
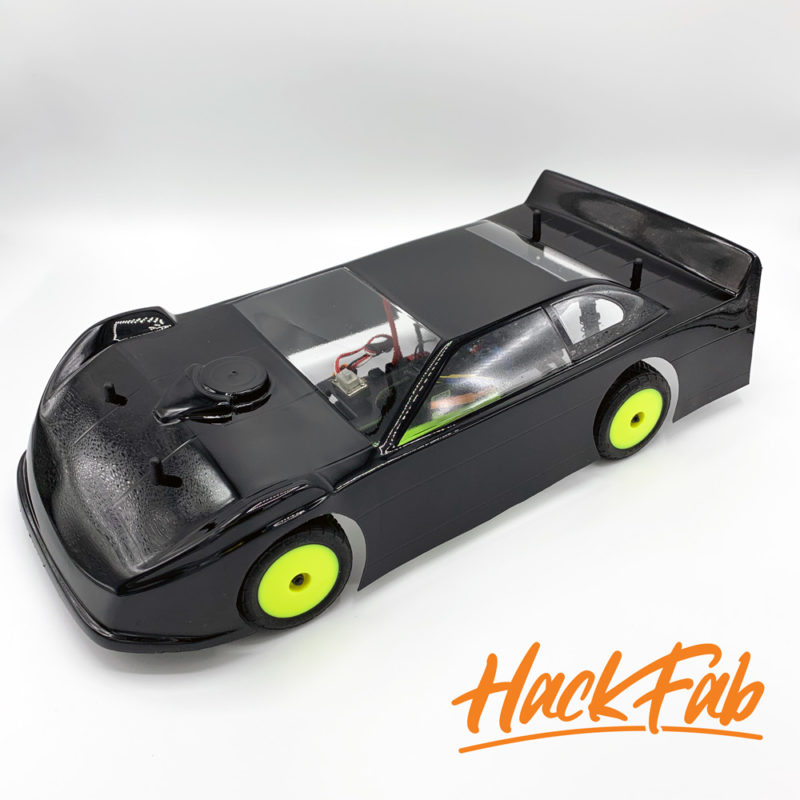
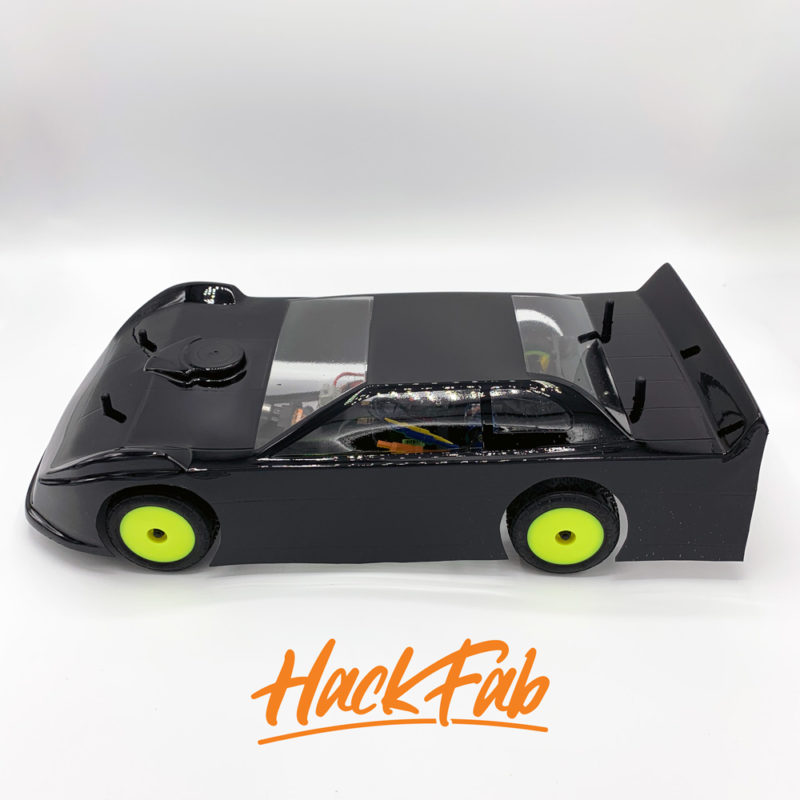
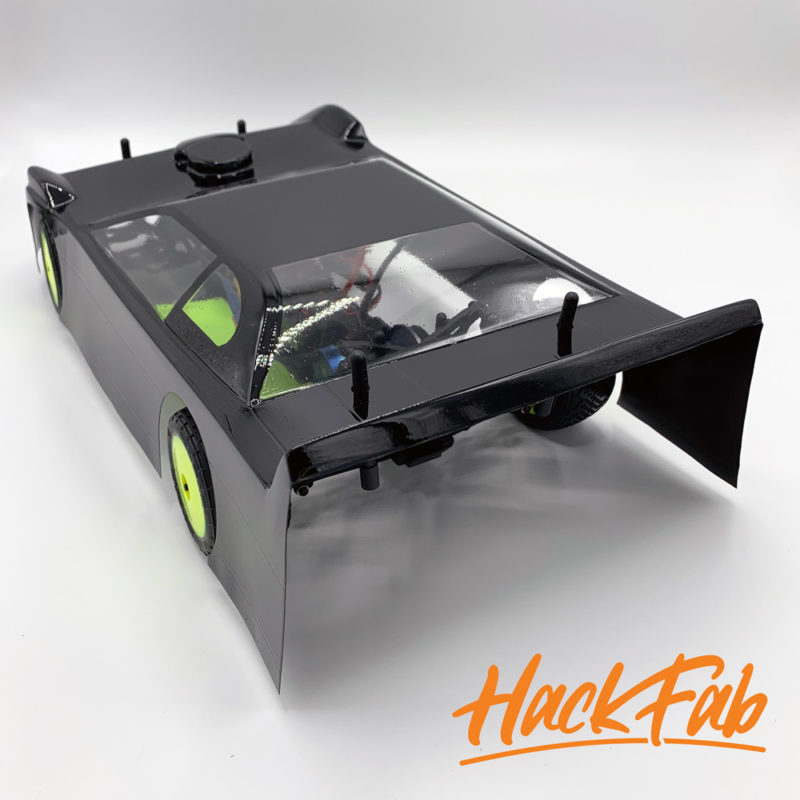

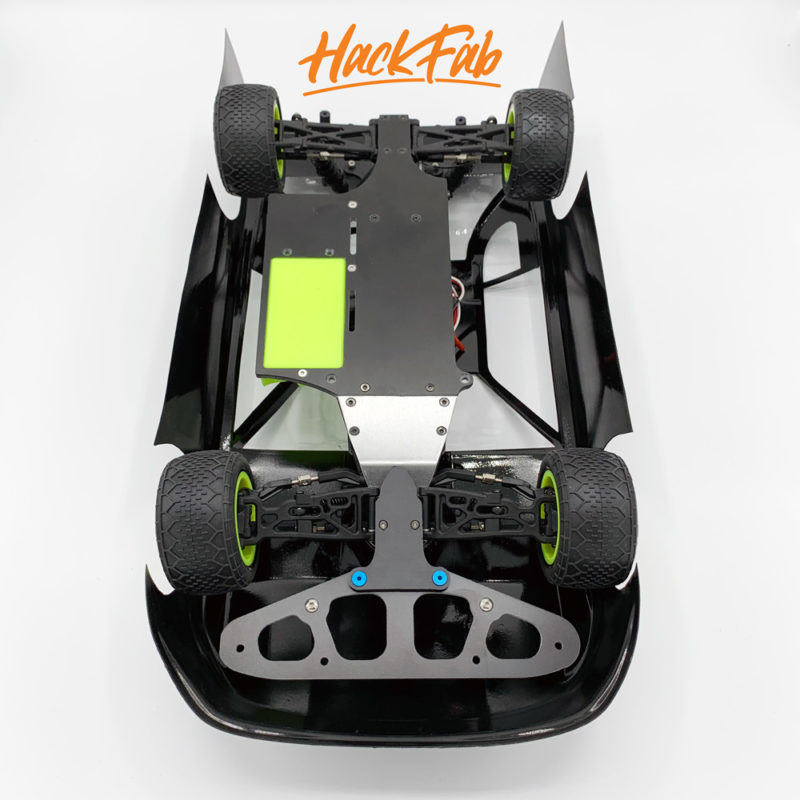
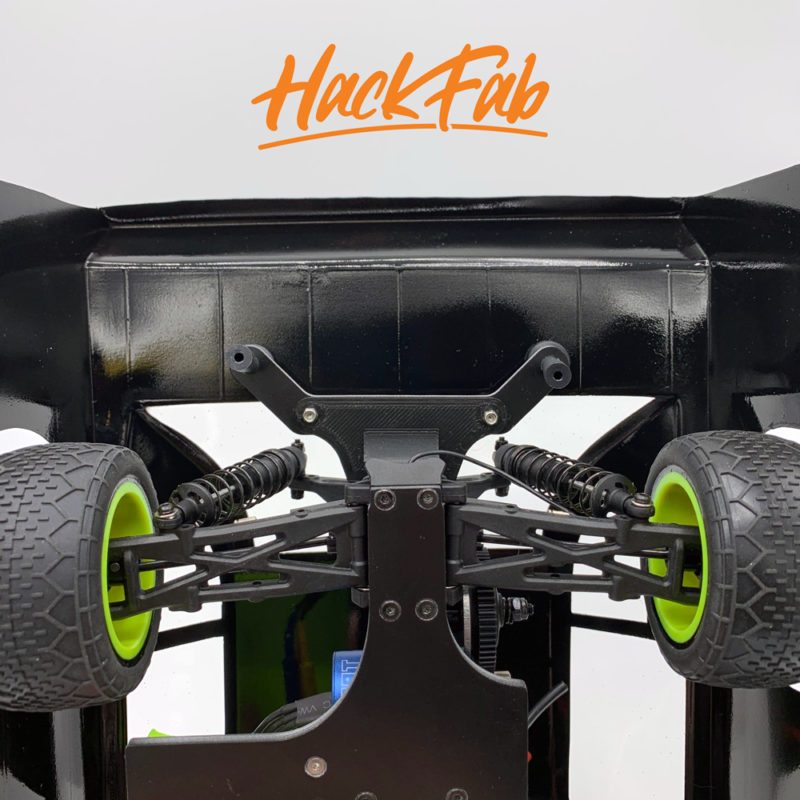
Note that without the rear body mount extension, the body posts would be in the back window (which would still work – but this seemed better).
McAllister #259 BATESVILLE LATE MODEL BODY
Similar to the Greenville body above, this mounts best with the front bumper and rear body mount extension.
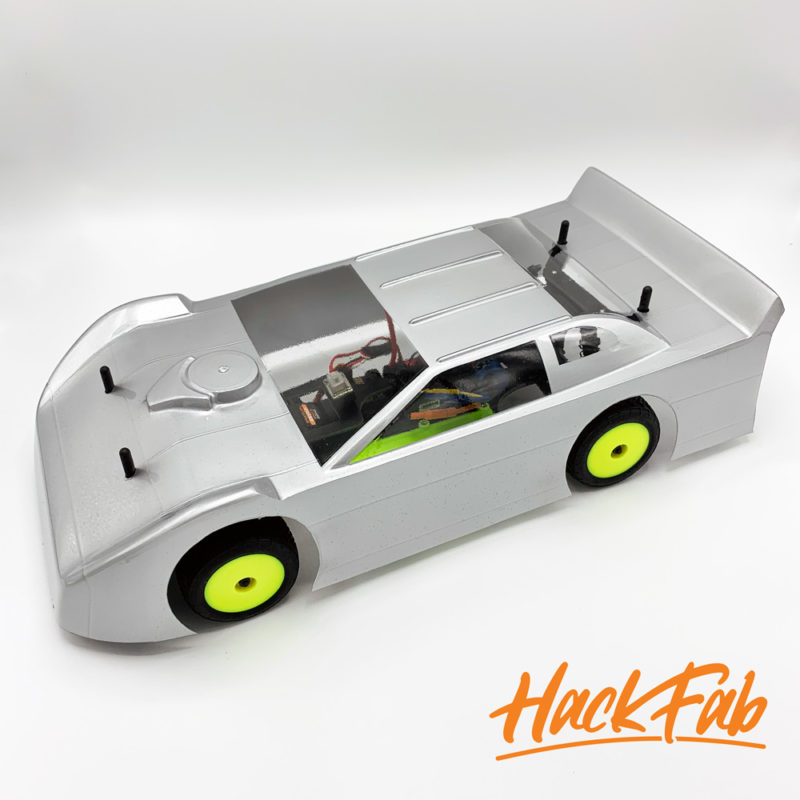
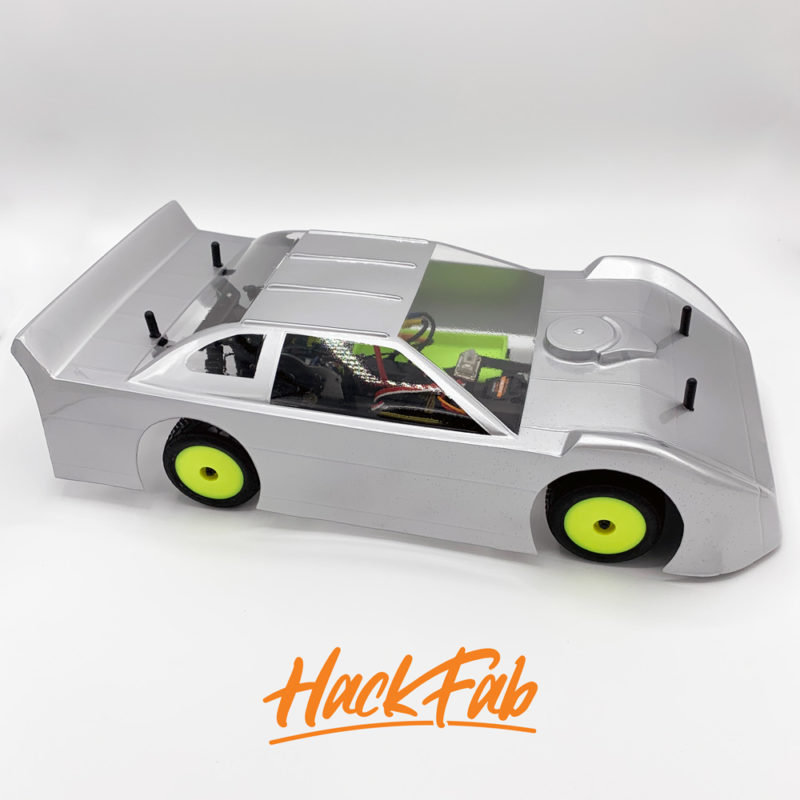
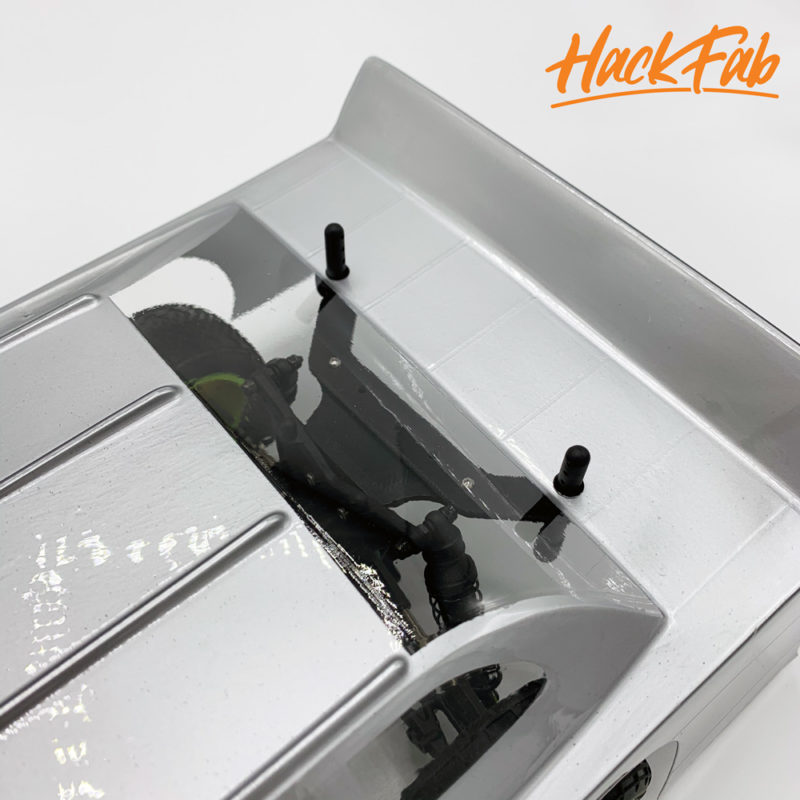
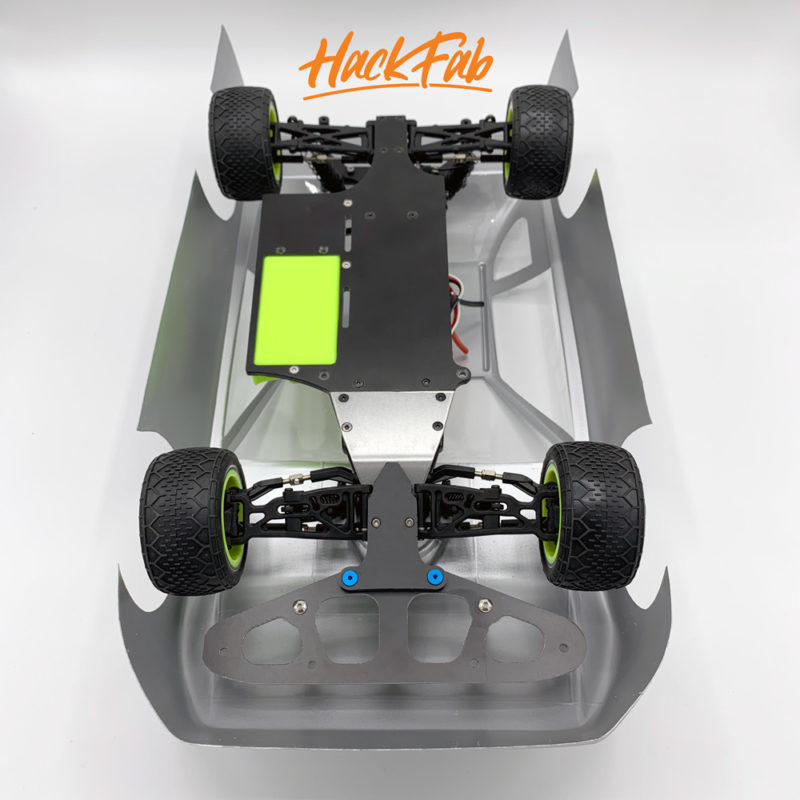
This isn’t all of the bodies McAllister has to offer but seemed like a good round up. Check out their website for others. There may also be other manufacturers out there who are still currently making bodies that fit the Mini Late Model, and I would assume those fit as well. If anyone has any questions or concerns regarding our kit or certain applications, please feel free to Contact Us. We are also welcoming dealer inquiries if a track wants to carry our conversion and parts to build a class.
